
Sugar Geek Show, Inc.
Mini Cake Recipe Ingredients
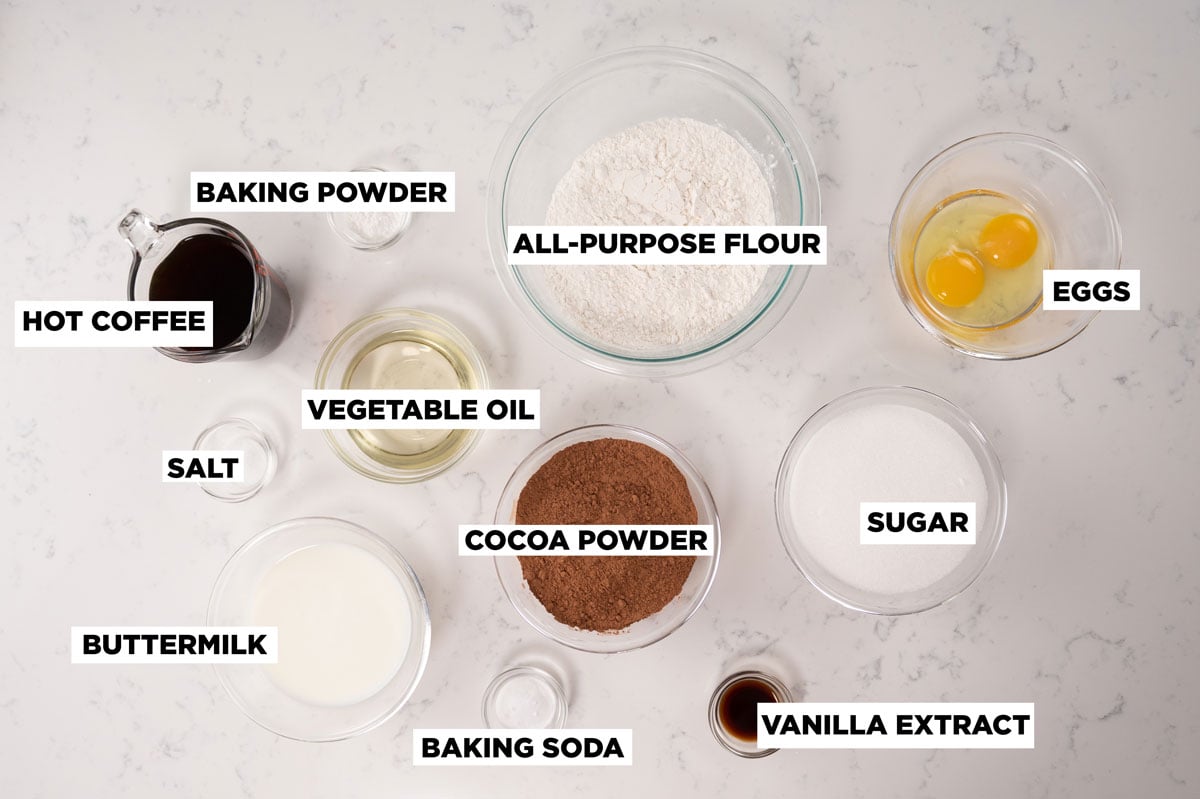
Buttermilk: The buttermilk not only adds moisture to the cake, but it’s also acidic which breaks down the gluten in the all-purpose flour. Buttermilk is what gives this cake its tender and moist crumb!
If you do not have buttermilk, you can create your own buttermilk substitute.
Hot coffee (or hot water): The chocolate cake used to make this mini cake recipe calls for hot coffee. Hot coffee intensifies the flavor of the chocolate, and it doesn’t make the cake taste like coffee at all.
If you do not want to use coffee, you can substitute a dark beer like Guinness (heated) or just use hot water.
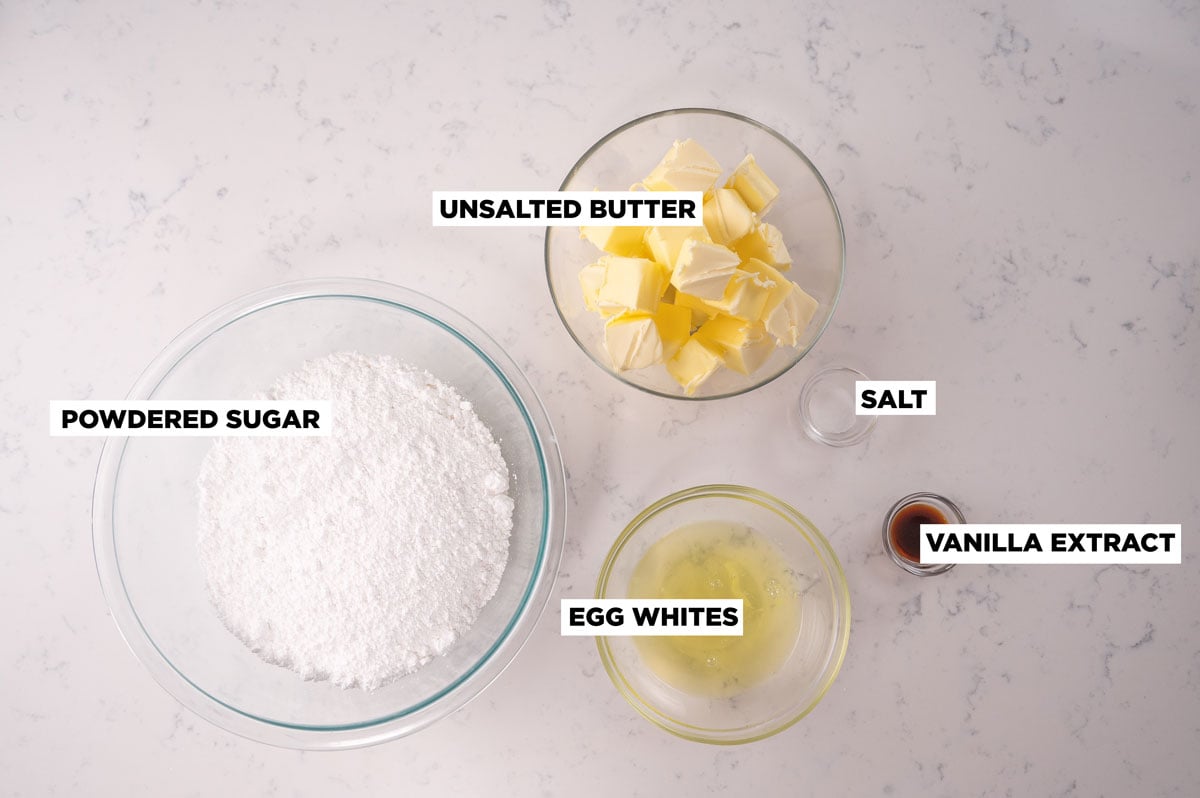
Pasteurized egg whites: For this frosting recipe, you will need pasteurized egg whites. Pasteurization is what makes eggs safe to eat without cooking.
If you can’t find pasteurized egg whites, you can pasteurize eggs yourself and just use the egg whites. NOTE: all eggs in the USA are already pasteurized, so you can use shelled egg whites separated from the yolk as well.
Don’t want to use my buttercream recipe? You can use American buttercream, Swiss meringue, or even French buttercream but stay away from cream cheese frosting or whipped cream because it will melt the fondant.
White Fondant: You can use any kind of white fondant you have, but I would recommend you use my marshmallow fondant recipe.
Vegetable Shortening: If you are working with fondant, then you will need shortening. Why? Because if you apply shortening to your hands, then you will keep the fondant from sticking to you while you are kneading and pulling it and the shortening keeps the fondant from drying out.
Purple food coloring: Purple food coloring is optional for this recipe. Professional bakers have a hack where they add 1 tiny drop of purple food coloring to make their frosting appear more white! But, you do not have to do this step if you don’t want to.
You can use any purple food coloring you have, but if you would like my recommendation, I would suggest the Chef Master gel food coloring. Use code “SUGARGEEKTEN” to get 10% off your order!
Making the Chocolate Cake
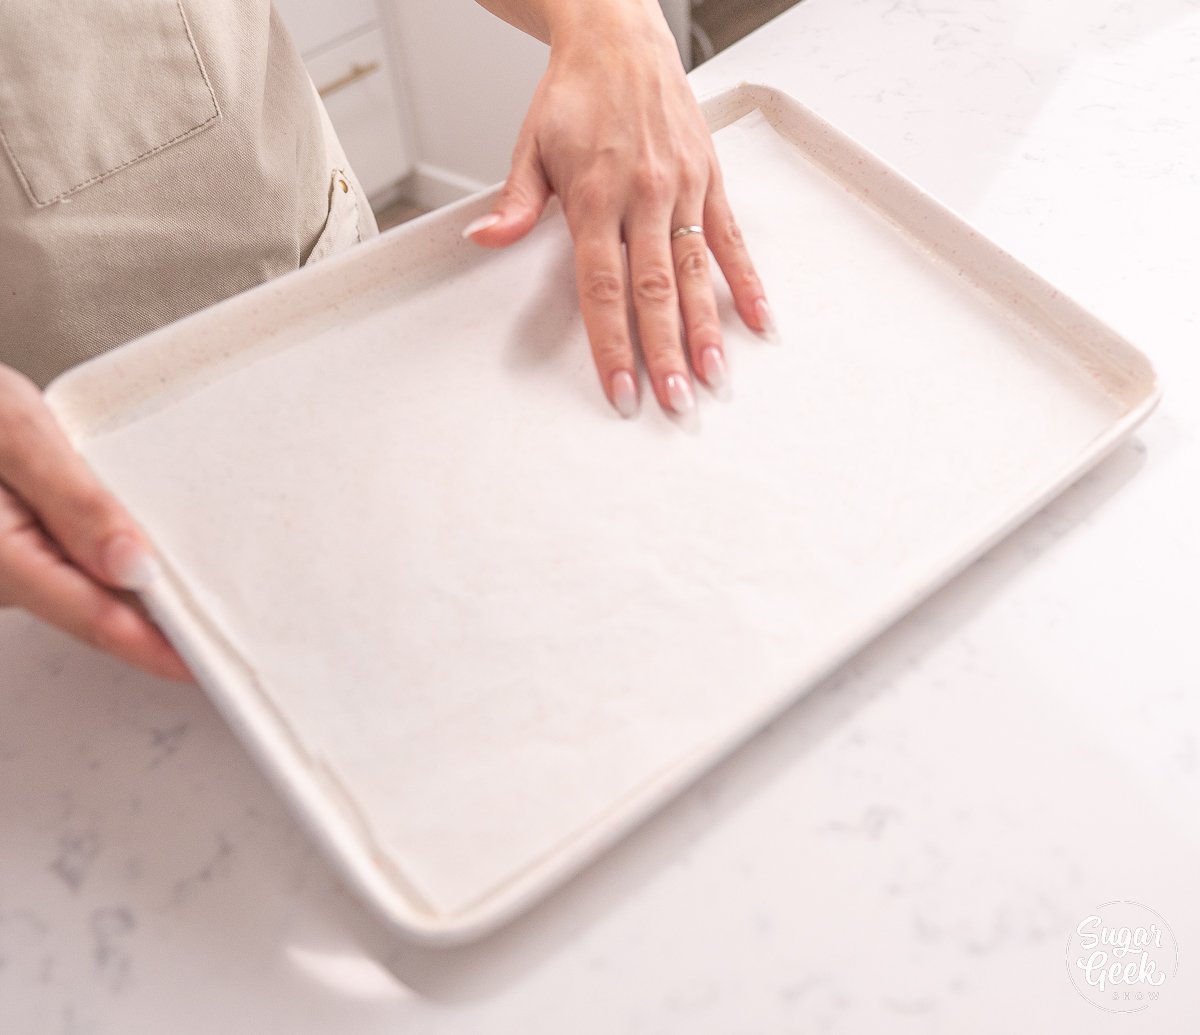
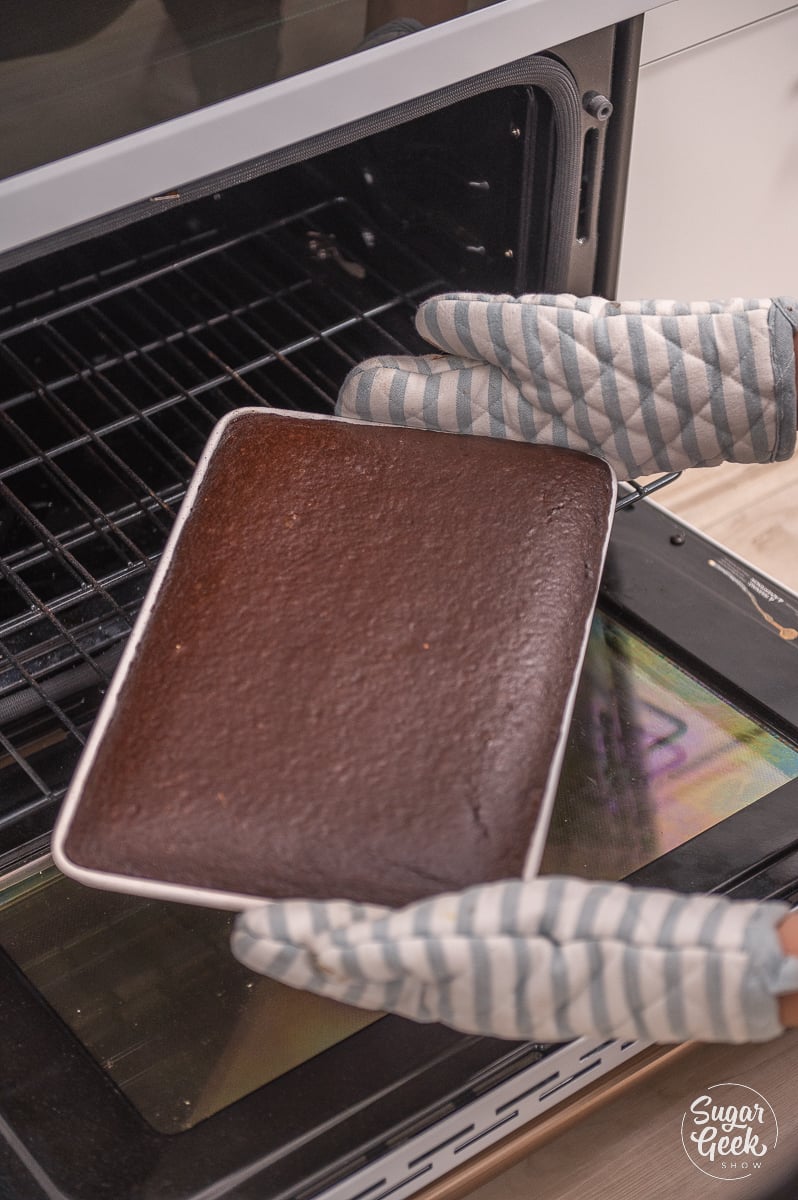
- Preheat the oven to 350ºF and prepare two 9”x 13’ sheet pans with parchment paper and cake goop.
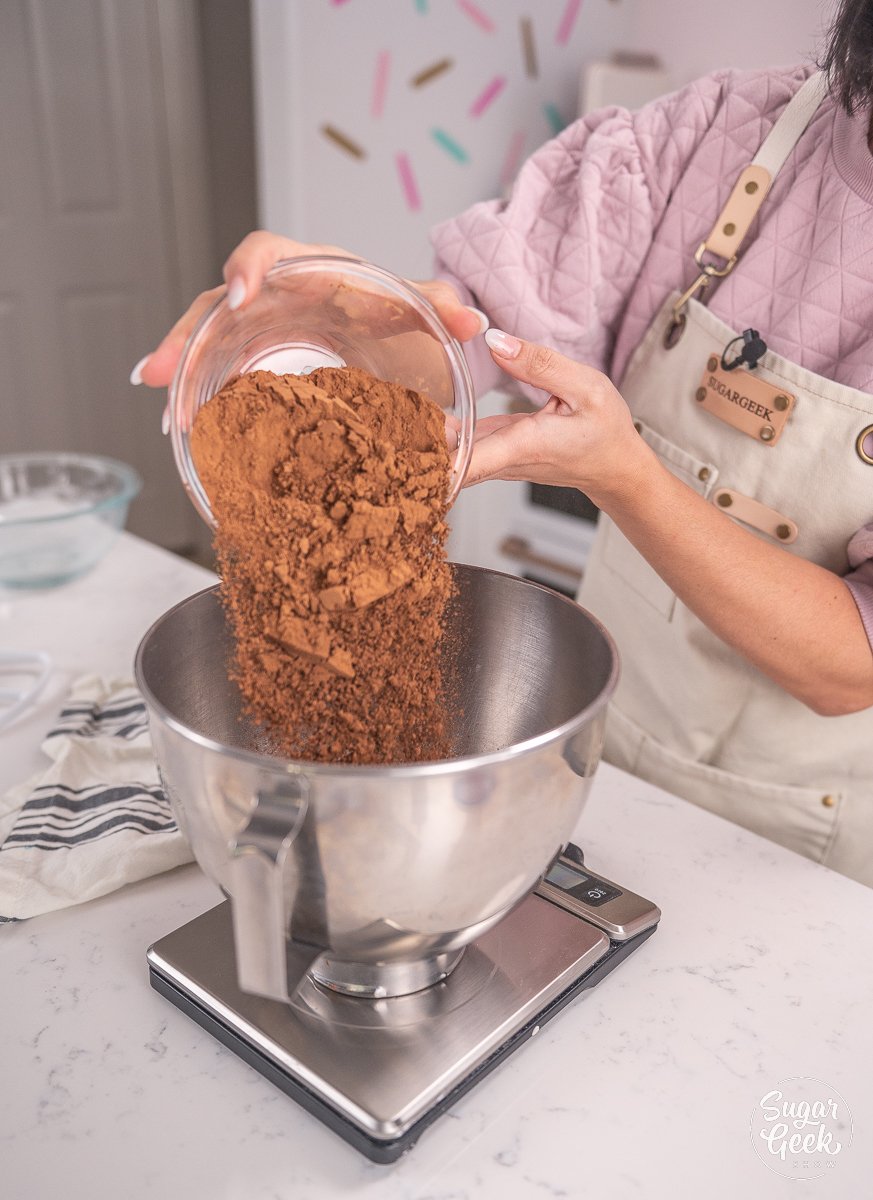
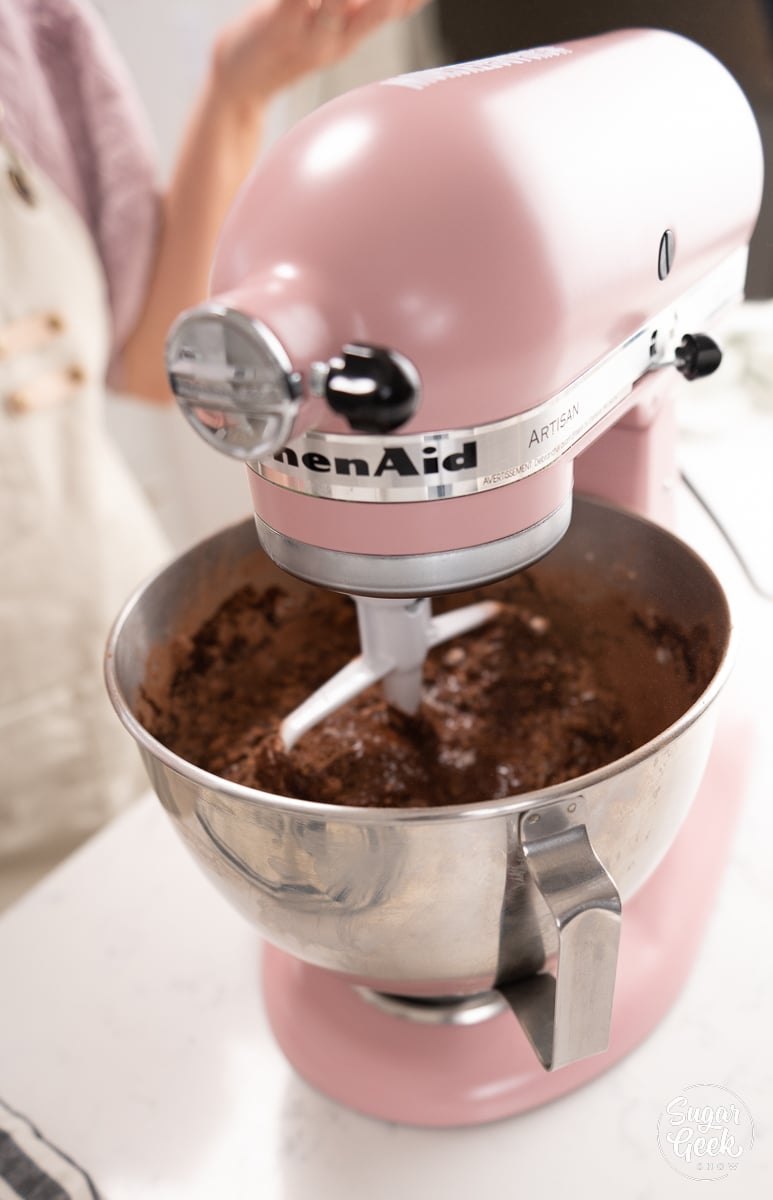
- Combine the flour, sugar, cocoa powder, baking powder, baking soda, and salt in the bowl of your stand mixer with the paddle attachment. Mix everything on low speed for about 5 seconds, or just until everything is combined.
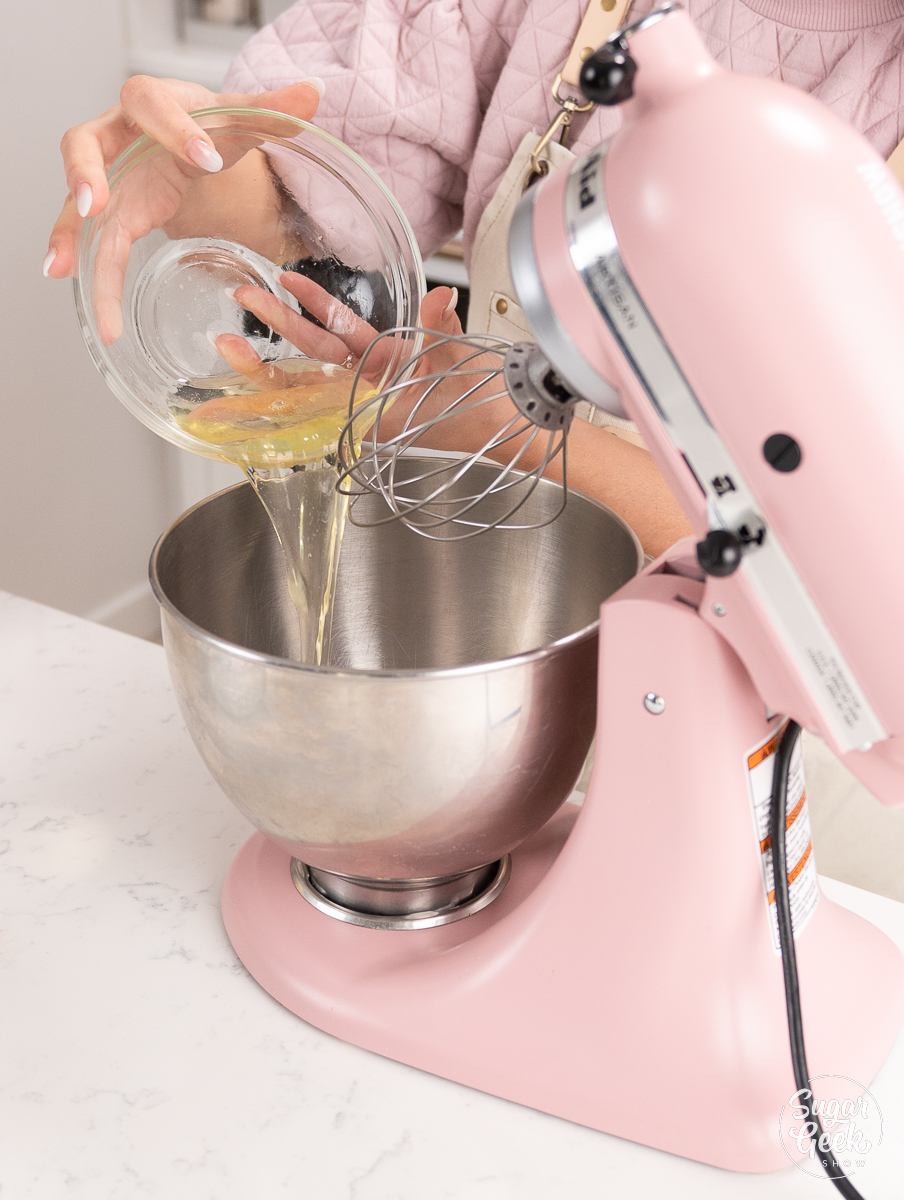
- Then, add in the room temperature eggs, room temperature buttermilk, oil, and vanilla.
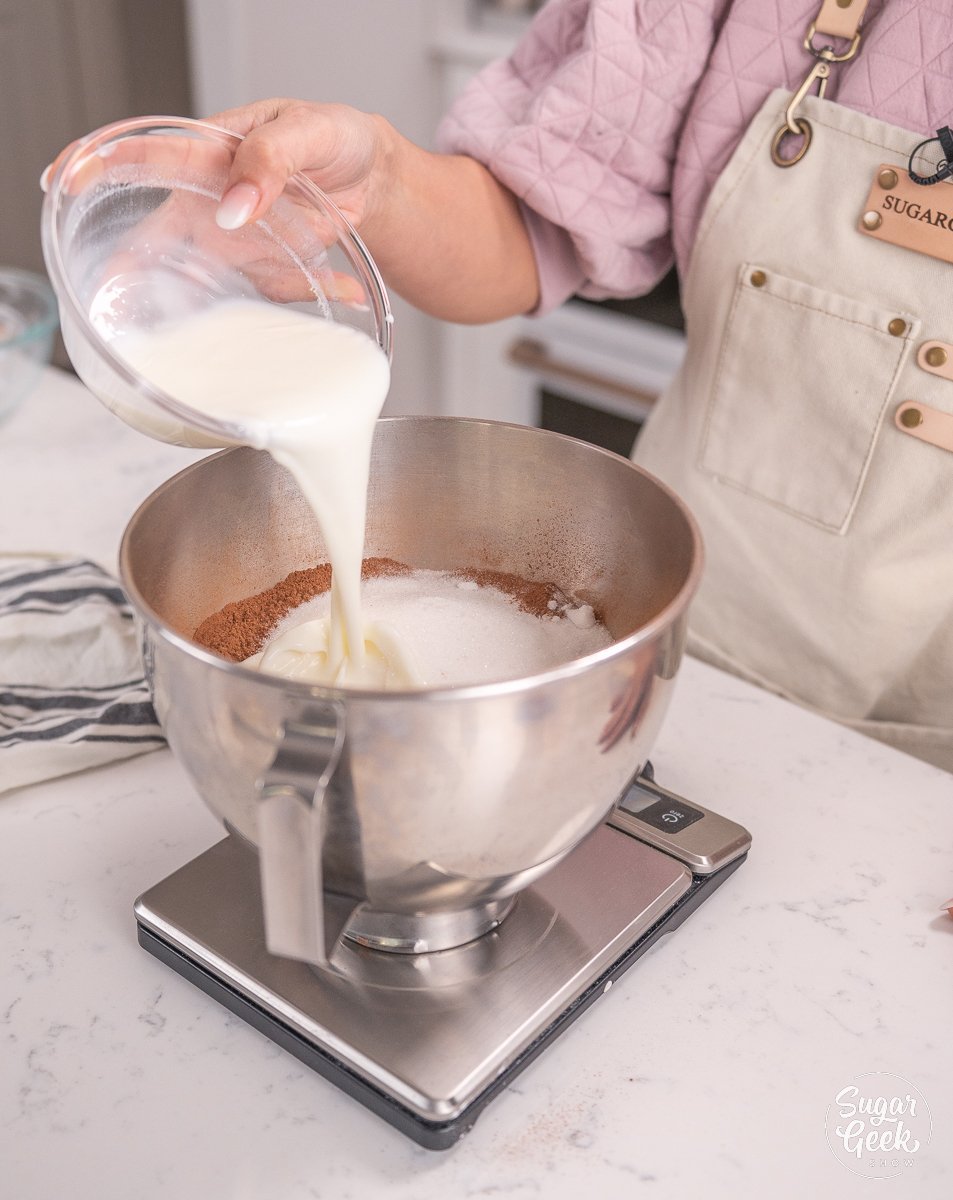
- Mix on medium speed withthe paddle attachment for 2 minutes and then scrape the bowl.
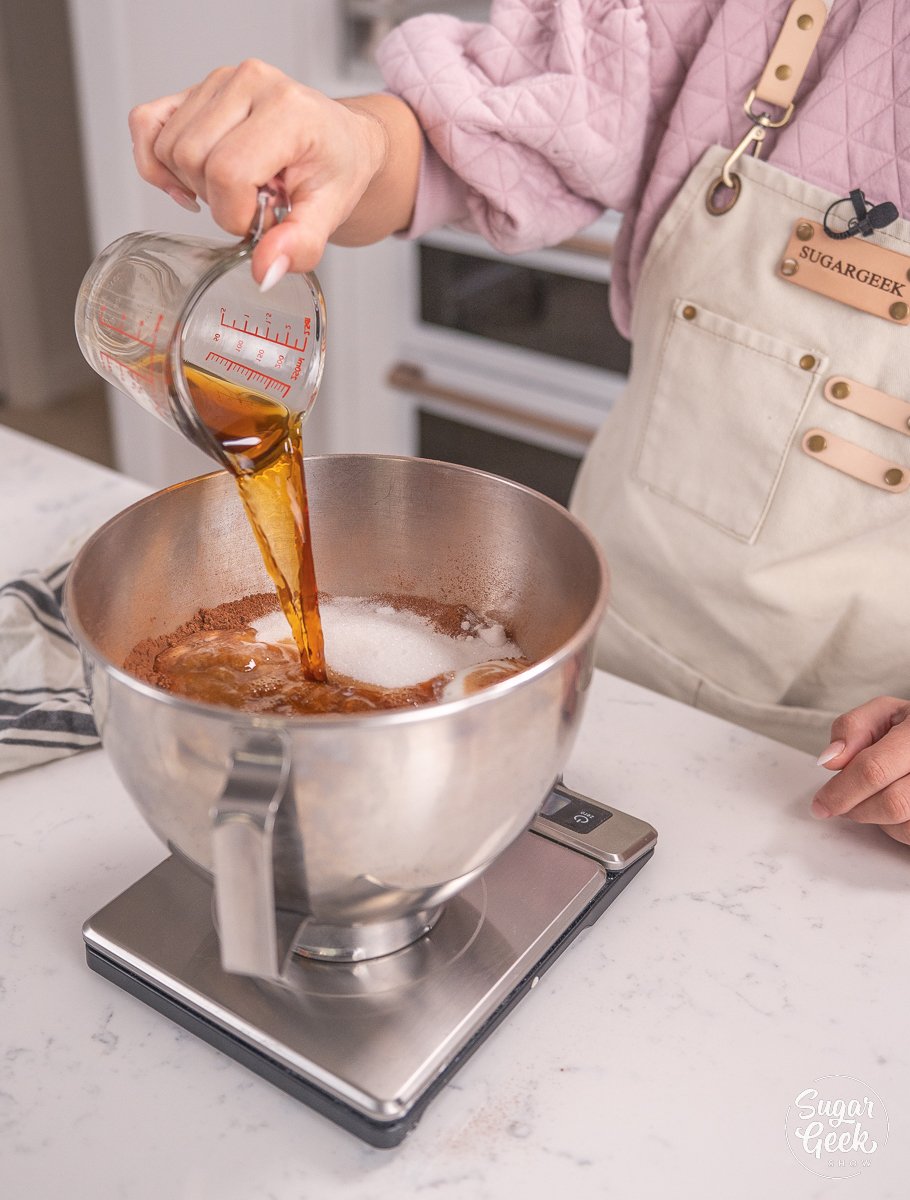
- Turn the mixer down to low speed, and then add in the hot coffee and mix it in until it’s just combined.
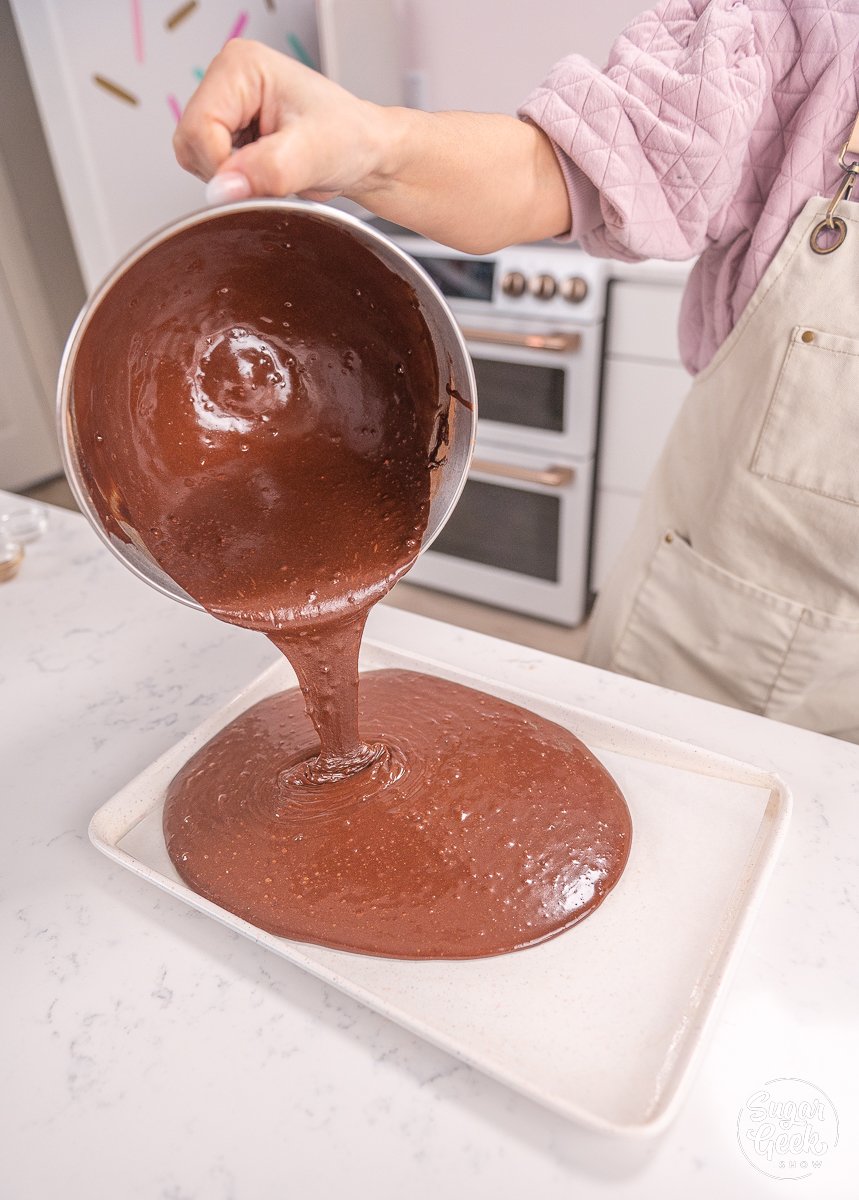
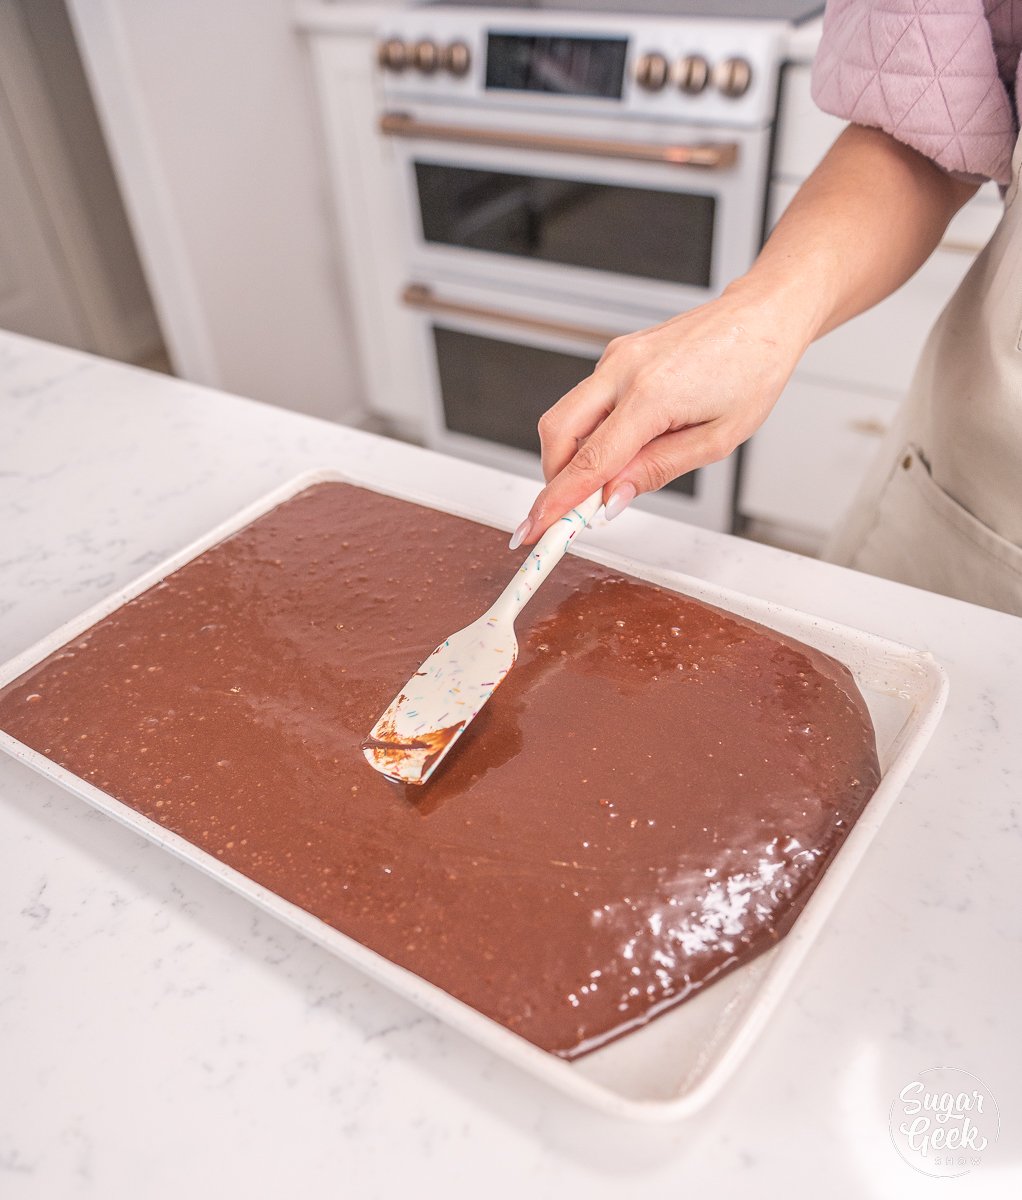
- Next, pour the cake batter into the prepared pans about halfway full.
- Bake the cakes at 335ºF for 15 minutes, or until it is fully baked. While your cake is baking, you can prepare the easy buttercream frosting.


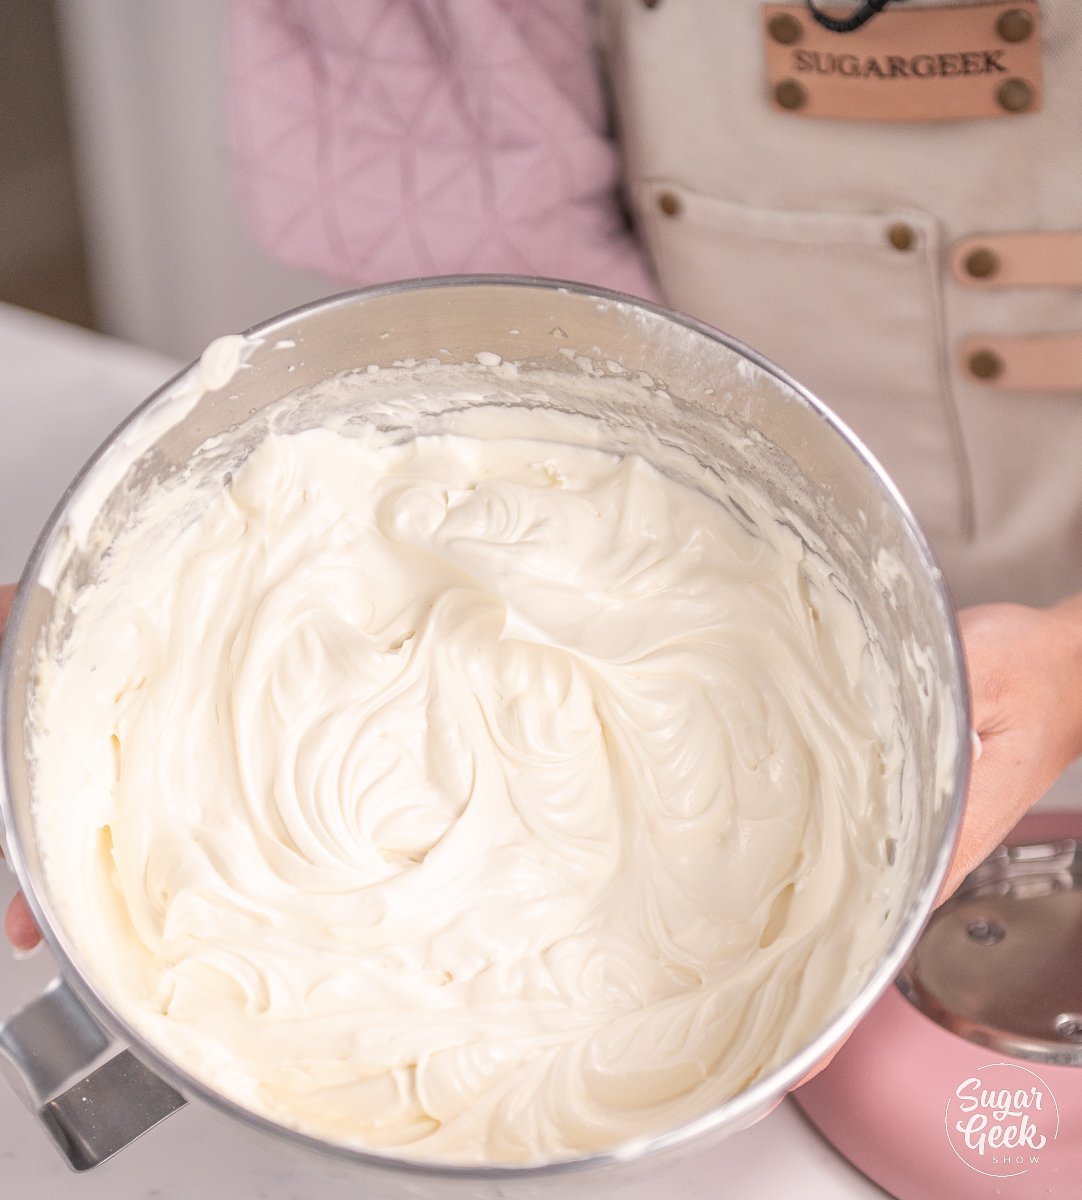
Easy Buttercream Frosting Instructions
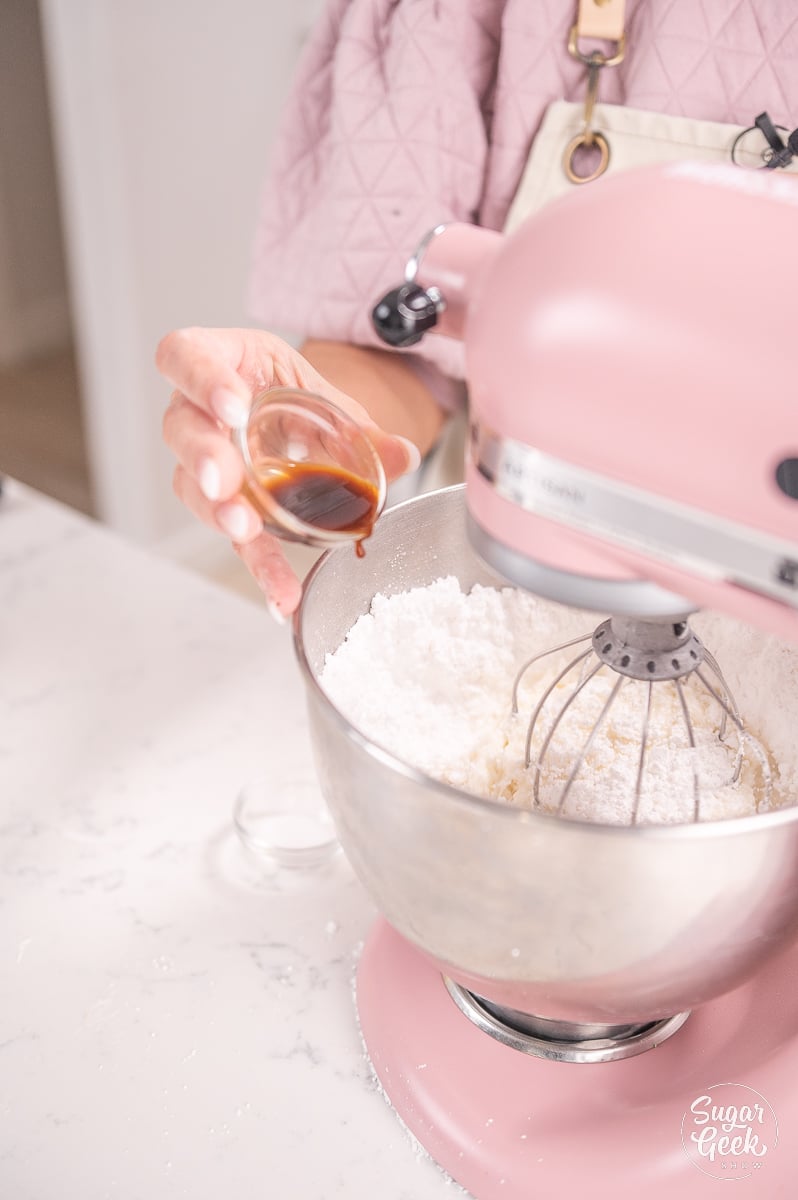
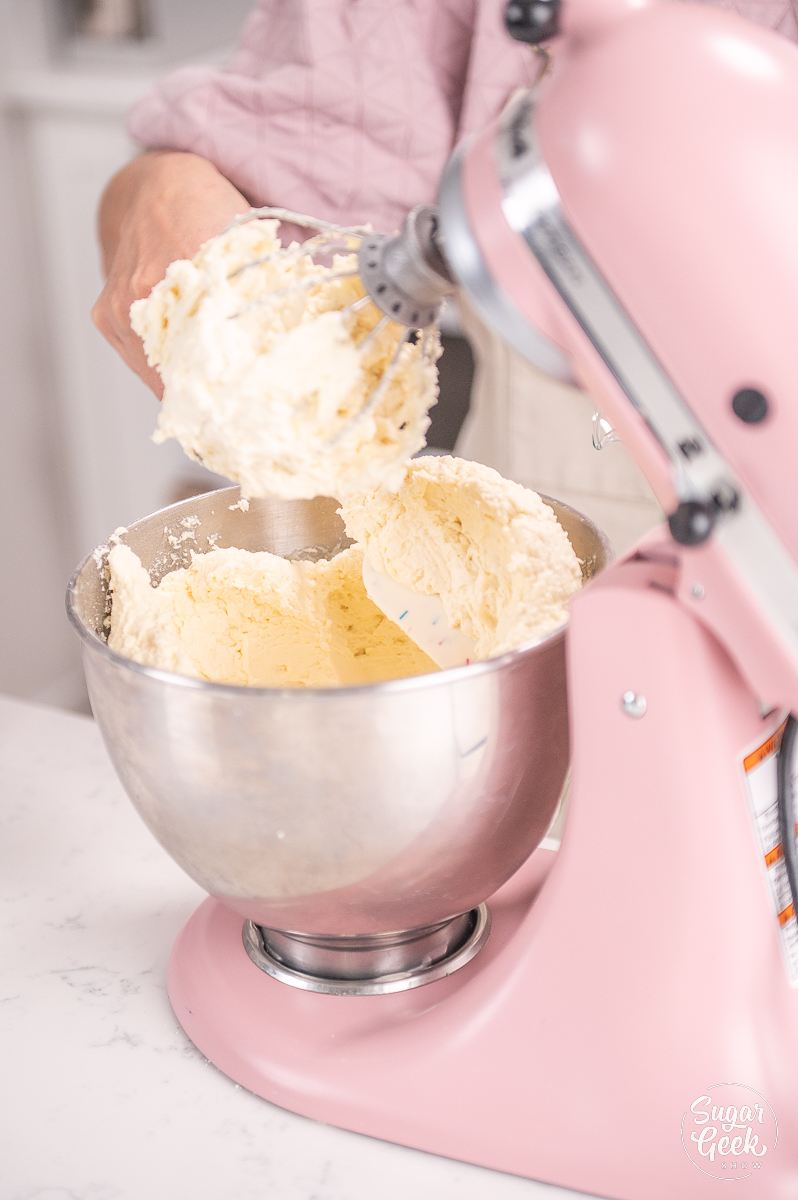
- First, place the egg whites and the powdered sugar in a stand mixer bowl. Attach the whisk and combine the ingredients on low.
- Whip them on high for 4-5 minutes (until shiny) to dissolve the powdered sugar.
- Then, add in the salt and the vanilla extract.
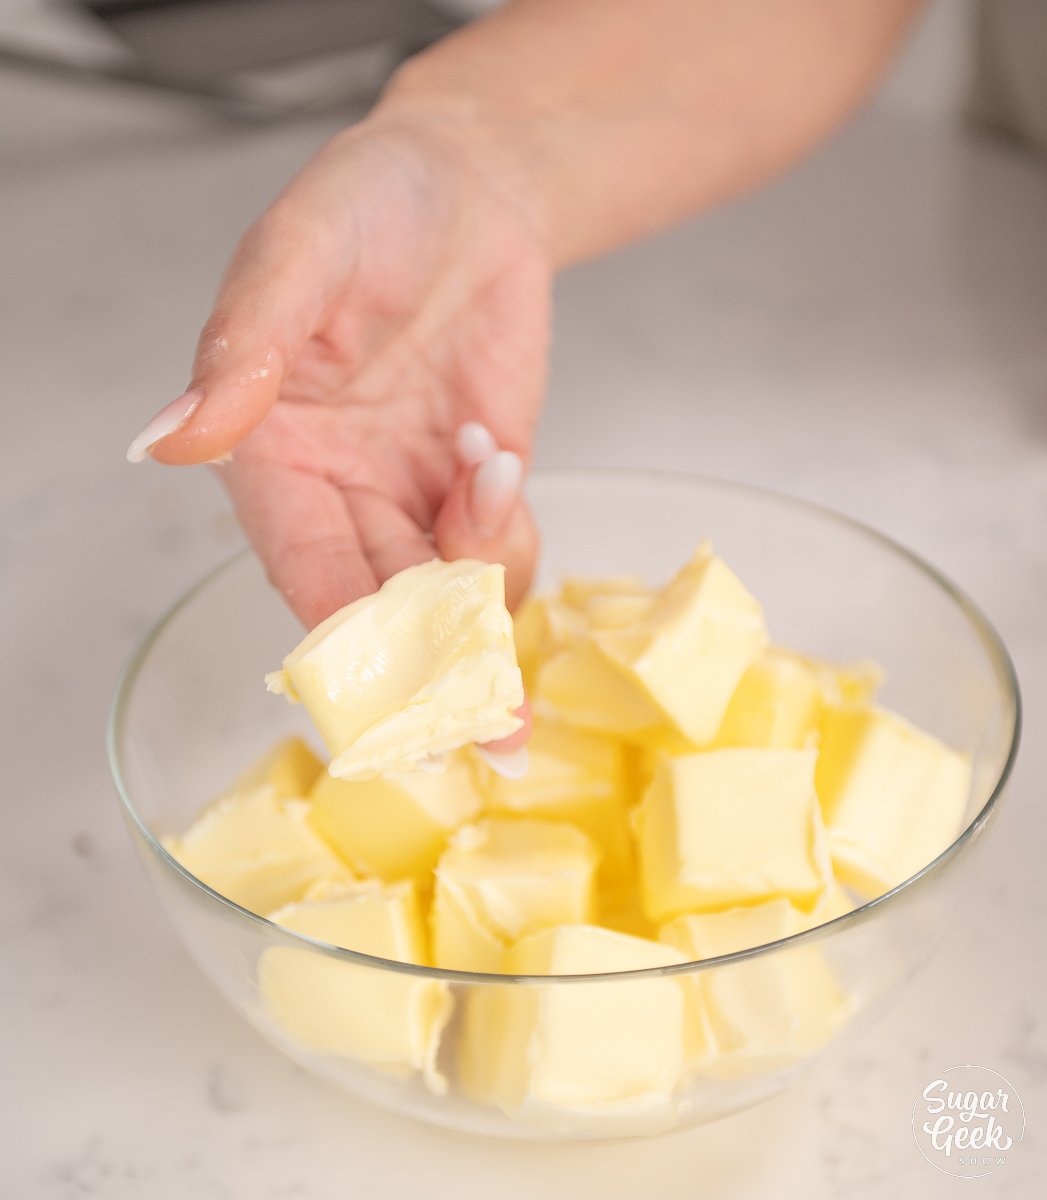
- Next, add in your room temperature butter piece-by-piece, and whip it with the whisk attachment to combine. It will look curdled at first. This is definitely normal. It will also look pretty yellow. Keep whipping.
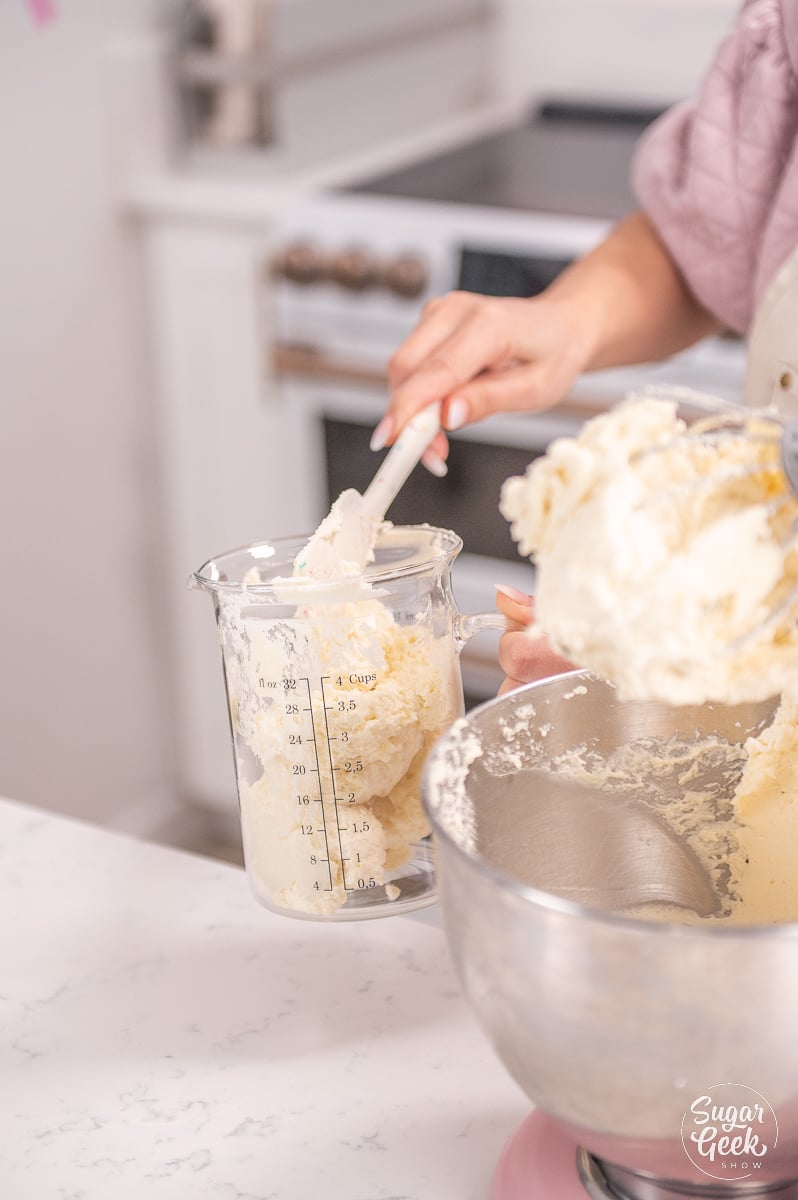
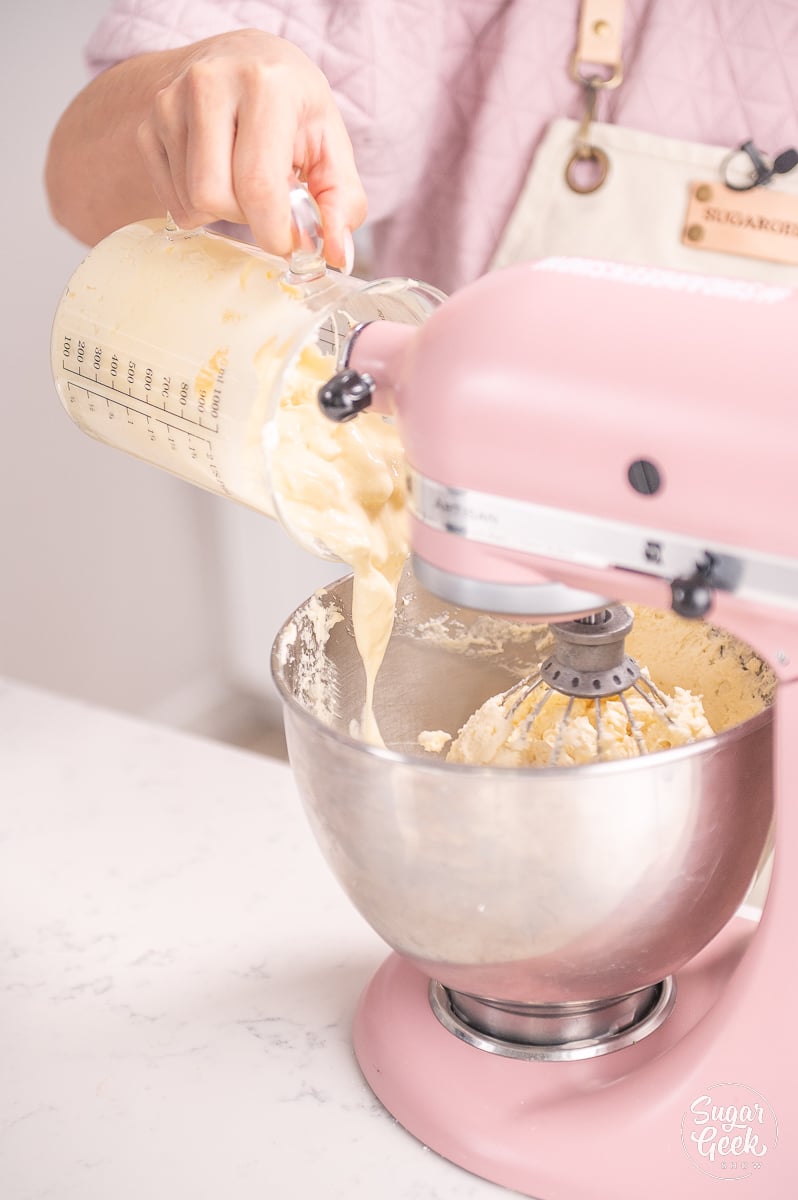
- If your buttercream continues to look curdled, remove about 2 cups of buttercream and melt it in the microwave for 10-15 seconds until it is just barely melted. Then, pour it back into the whipping buttercream to bring it all together.
- Optional: Add in 1 drop of purple food coloring to make the buttercream whiter. You can use any food coloring you want, but if you want my recommendation, I use Chef Master gel food coloring. Use code “SUGARGEEKTEN” to get 10% off your order!
- Then, whip it on high with the whisk attachment for 8-10 minutes until the buttercream is white, light, and shiny. Taste test the buttercream. If it tastes like sweet ice cream, then it’s ready!
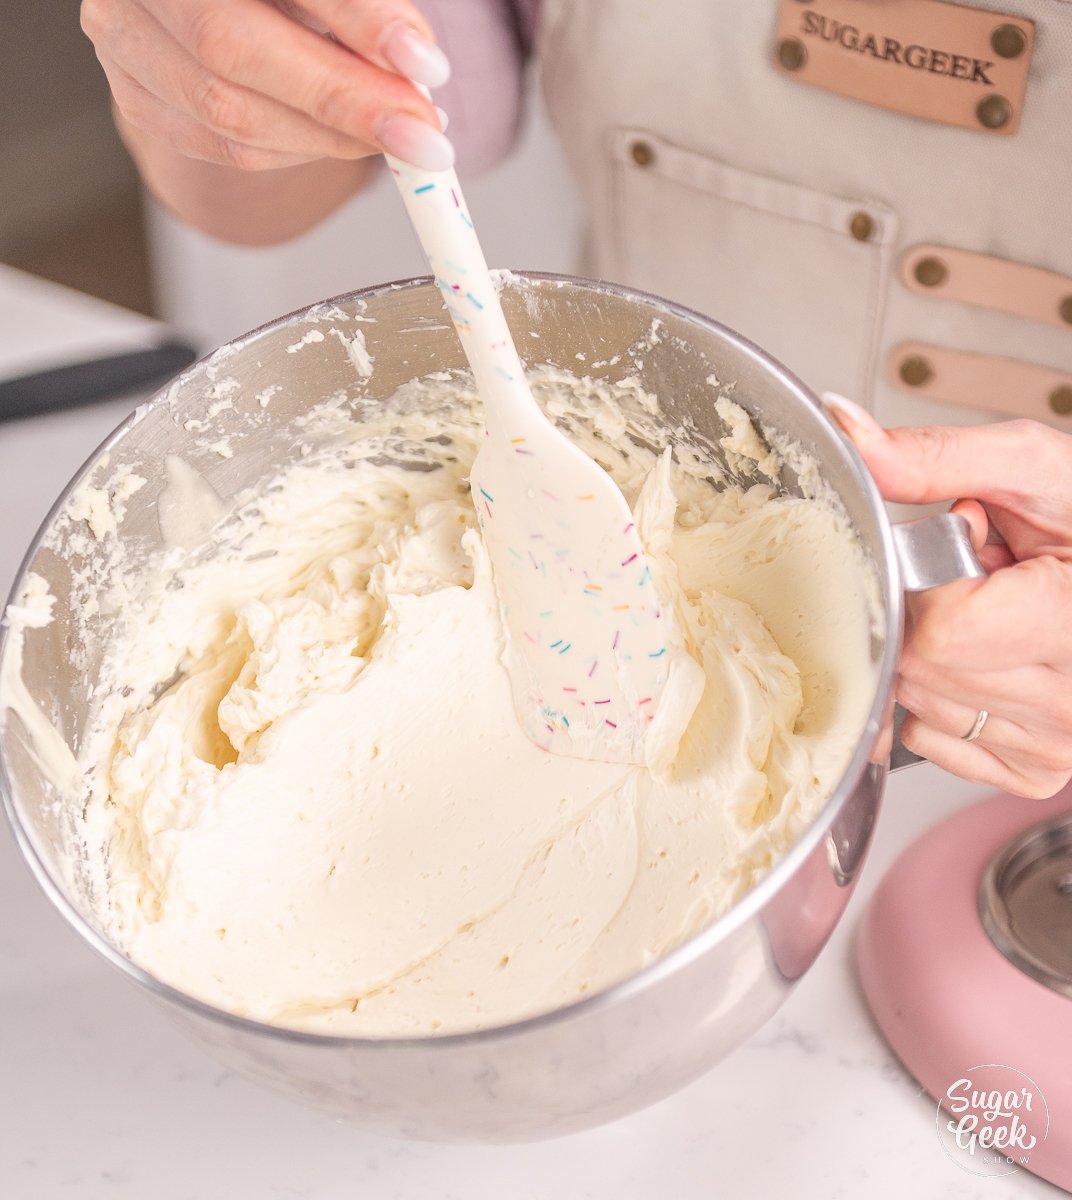
- Ultimately, this step is optional. But, if you want really creamy frosting with no bubbles, then you don’t want to skip this final step. Switch to a paddle attachment, and then mix the buttercream at low speed for up to 15-20 minutes to make the buttercream ultra smooth and remove any air bubbles.
Assembling the Chocolate Mini Cakes
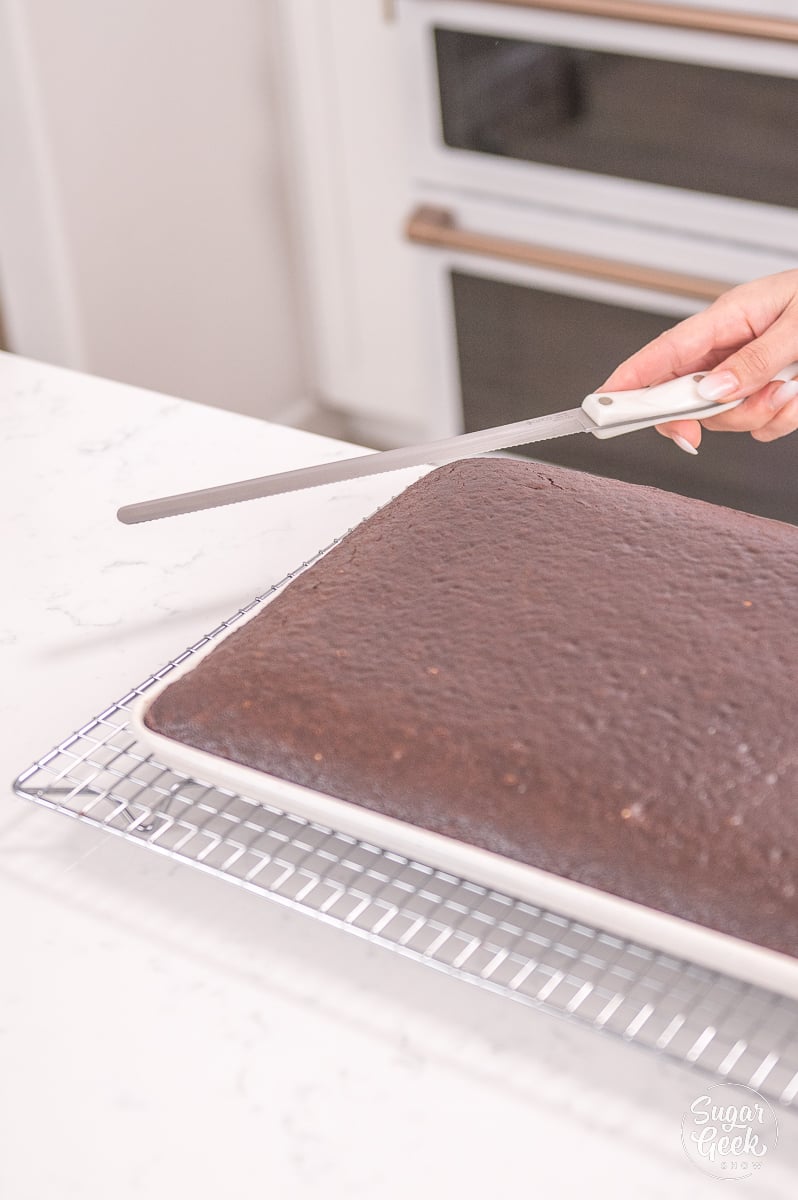
- Once the cakes have finished baking and are fully cooled, place it in the freezer for about an hour so that it is very cold but can still be cut.
- Trim the dome off the cake so that it is level. I use the cake pan as my guide.
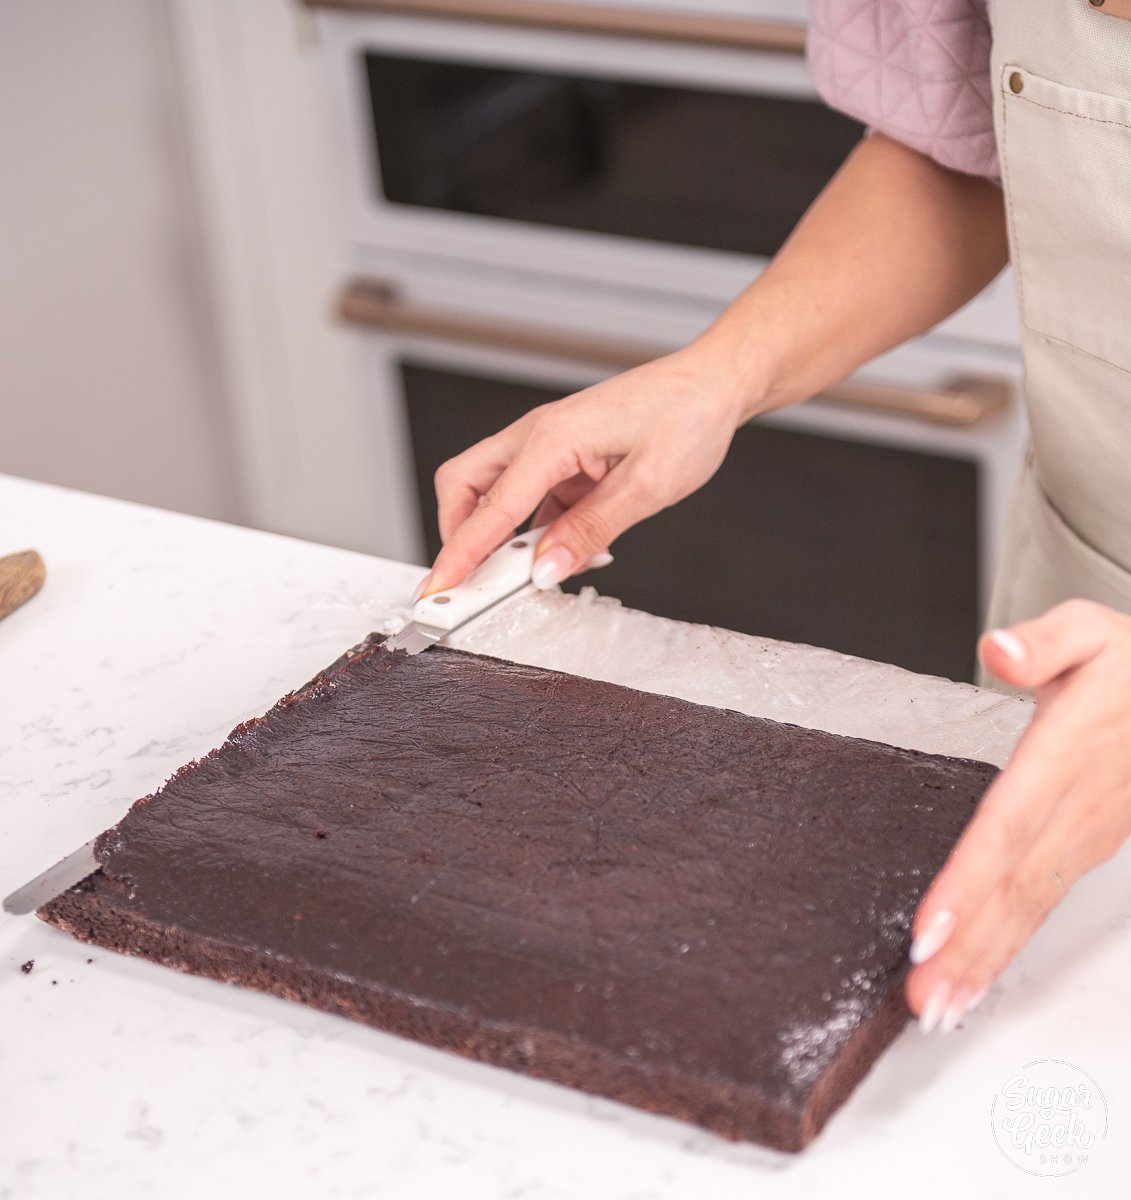
- Remove the cakes from the pan, and then cut the sheet cake in half. You want to have 2 even pieces of cake because you are going to layer them together.
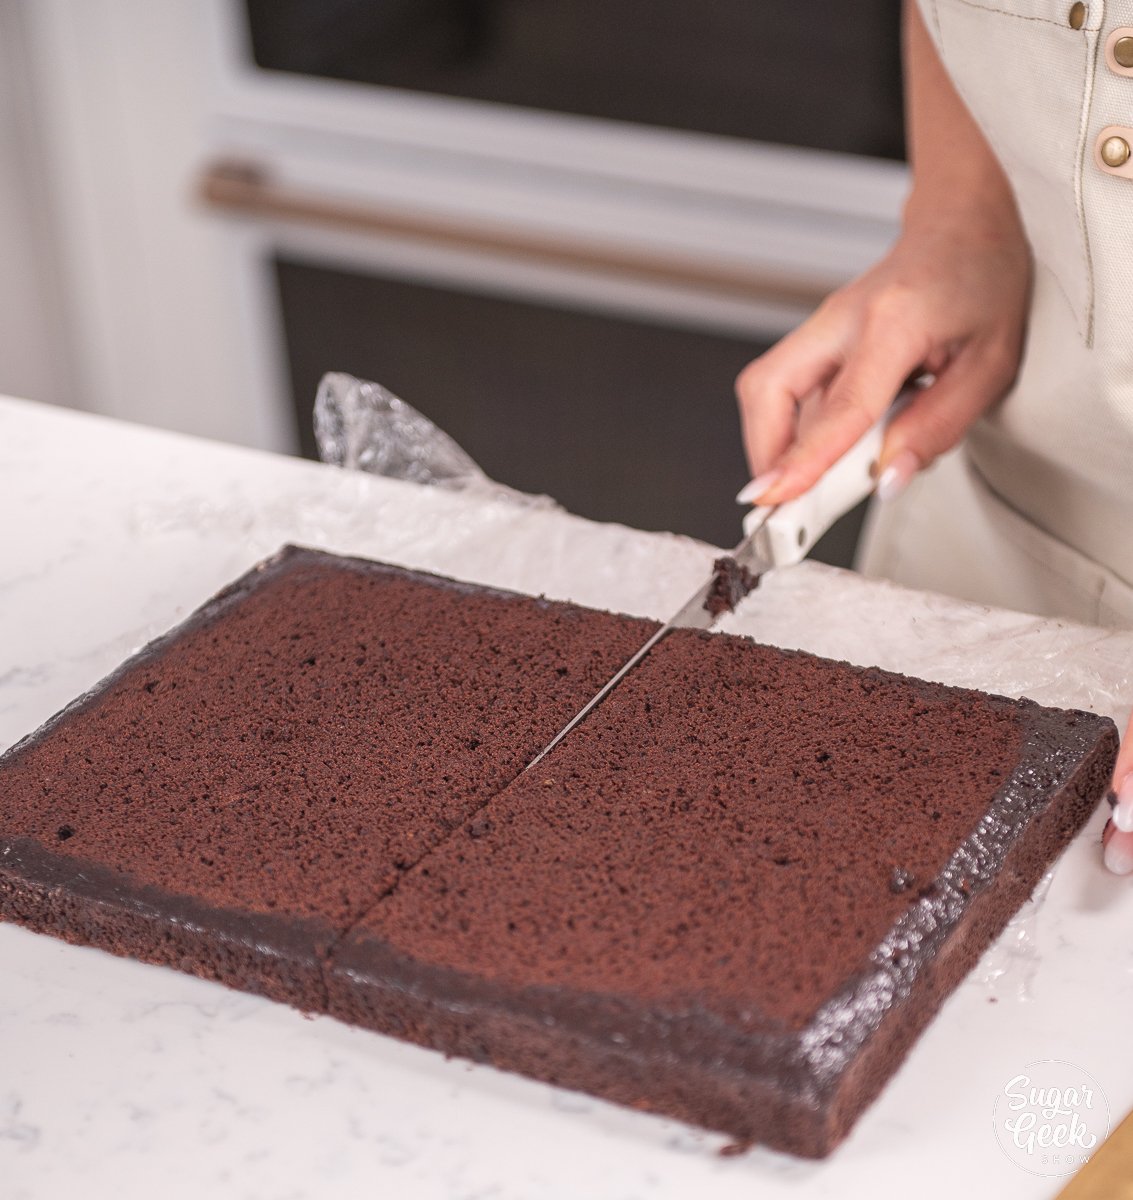
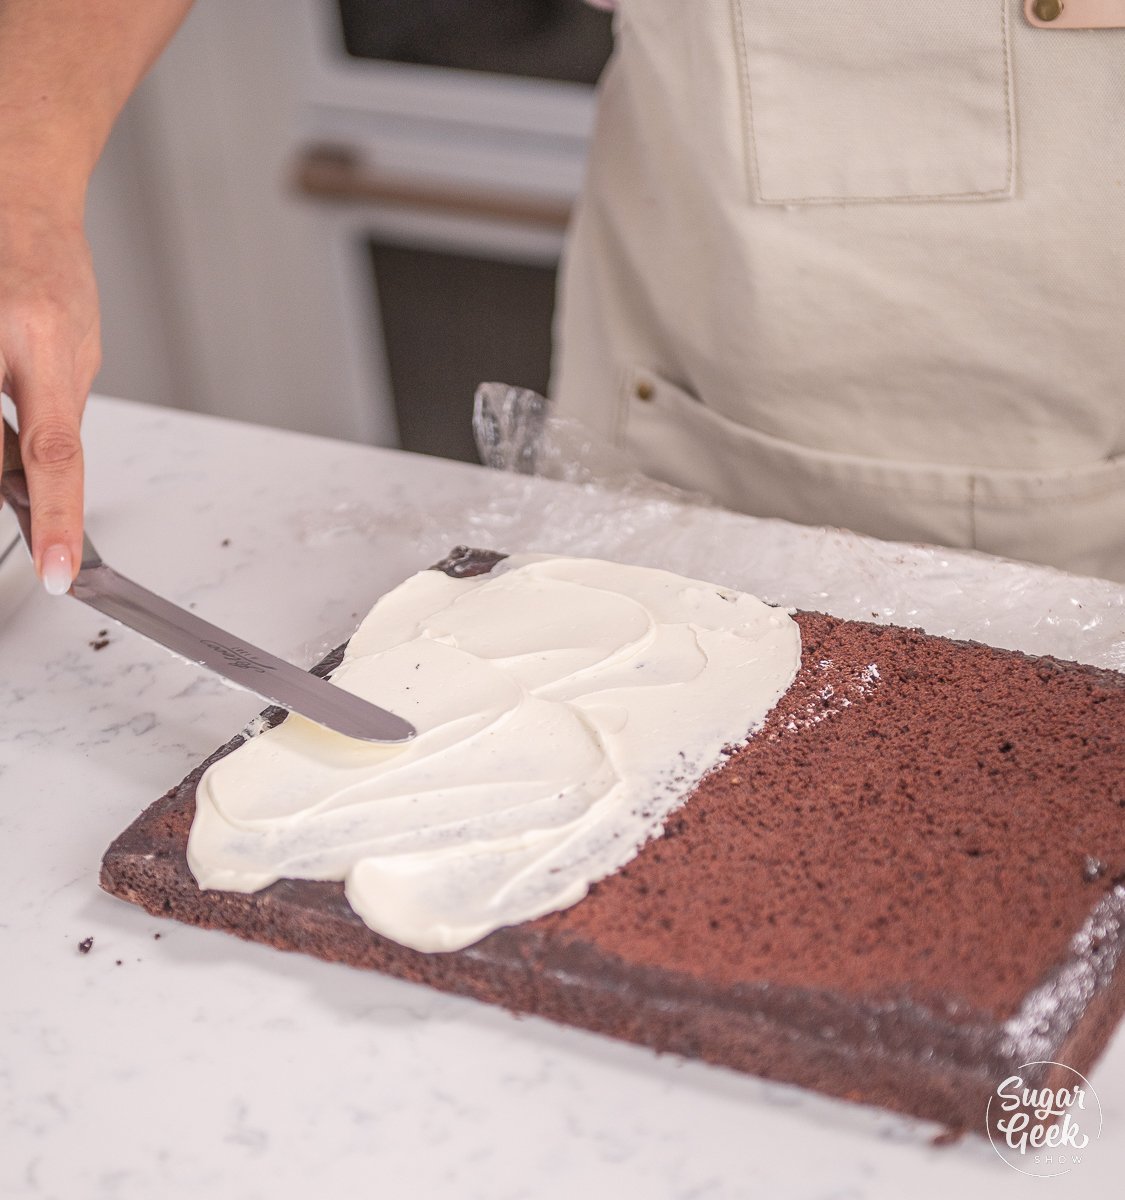
- Do the same thing to the other cake. Then, spread buttercream on one half of the cake, and then place the other half of the cake on top.
 100vw, 1200px” data-lazy-src=”https://sugargeekshow.com/wp-content/uploads/2022/03/mini-cakes-blog-064.jpg” /></li>
<li>Next, place the prepared cake in the freezer for about an hour.<img decoding=) 2” square silicone molds, so I am cutting my layered cake in 1-½” cubes. Using a metal ruler, I cut down one direction of the cake to make 1-½” strips, and then the other direction to make cubes.
2” square silicone molds, so I am cutting my layered cake in 1-½” cubes. Using a metal ruler, I cut down one direction of the cake to make 1-½” strips, and then the other direction to make cubes. 100vw, 1131px” data-lazy-src=”https://sugargeekshow.com/wp-content/uploads/2022/03/mini-cakes-blog-060.jpg” /><img decoding=)
Preparing the Mini Cake Molds
- First, fill a piping bag with buttercream fitted with a medium plain tip.
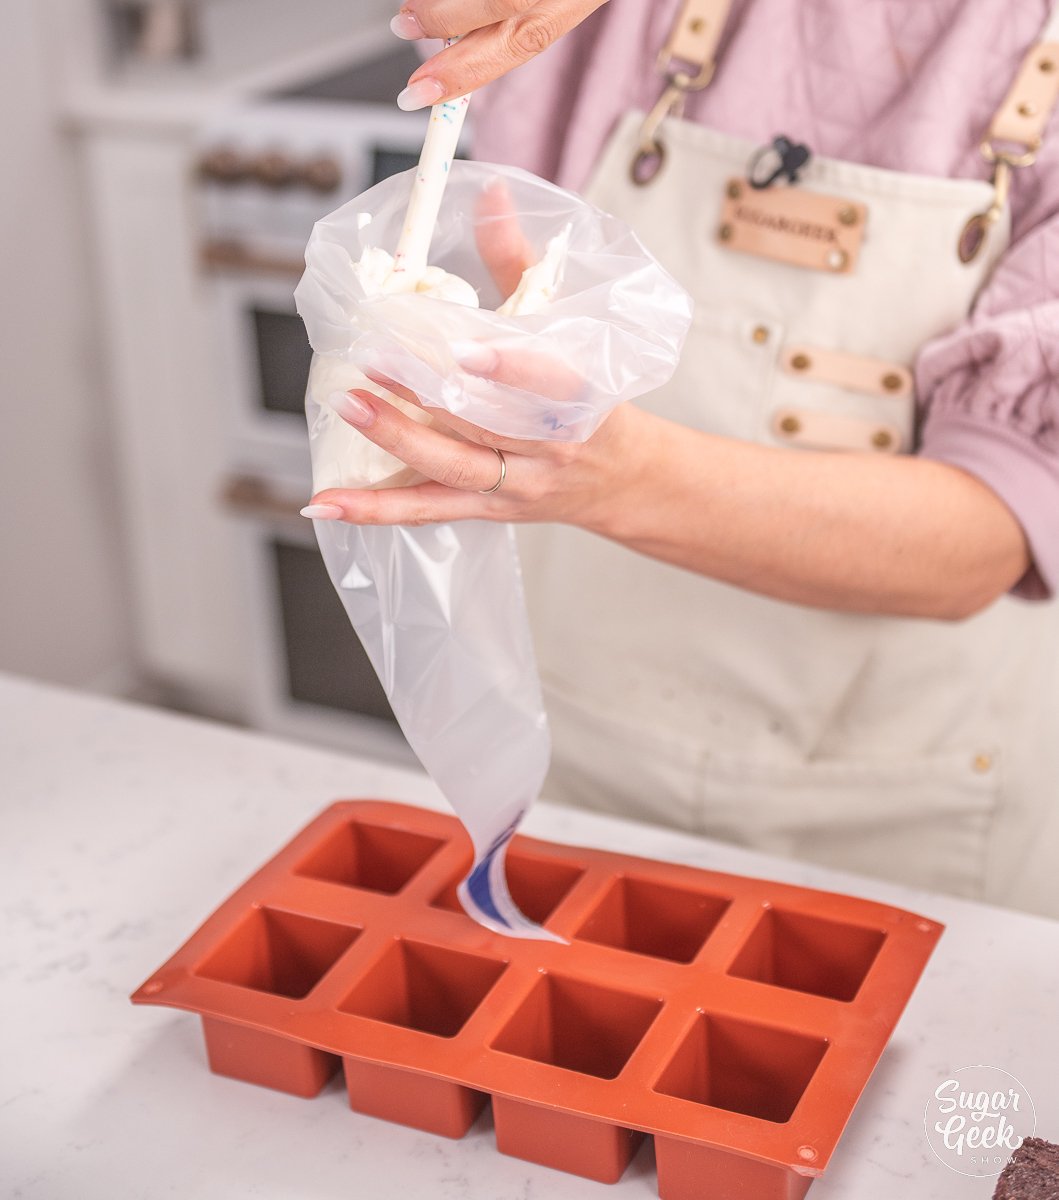
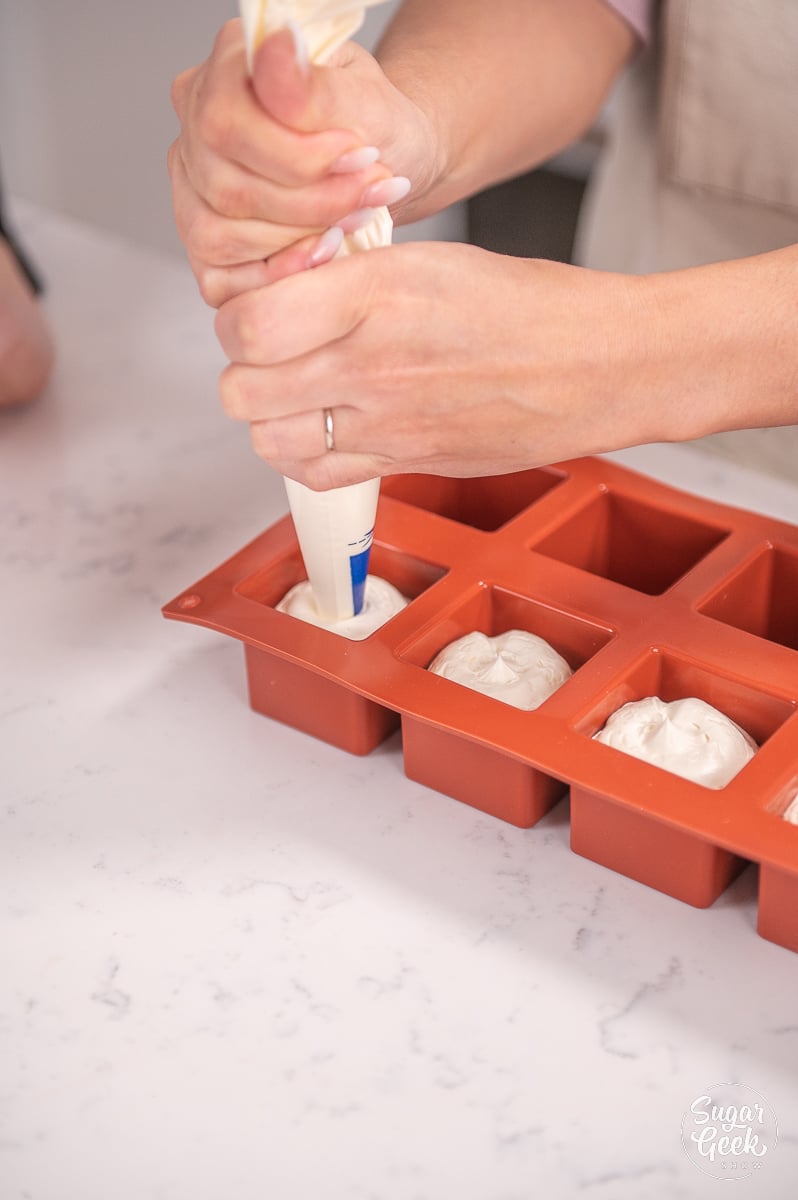
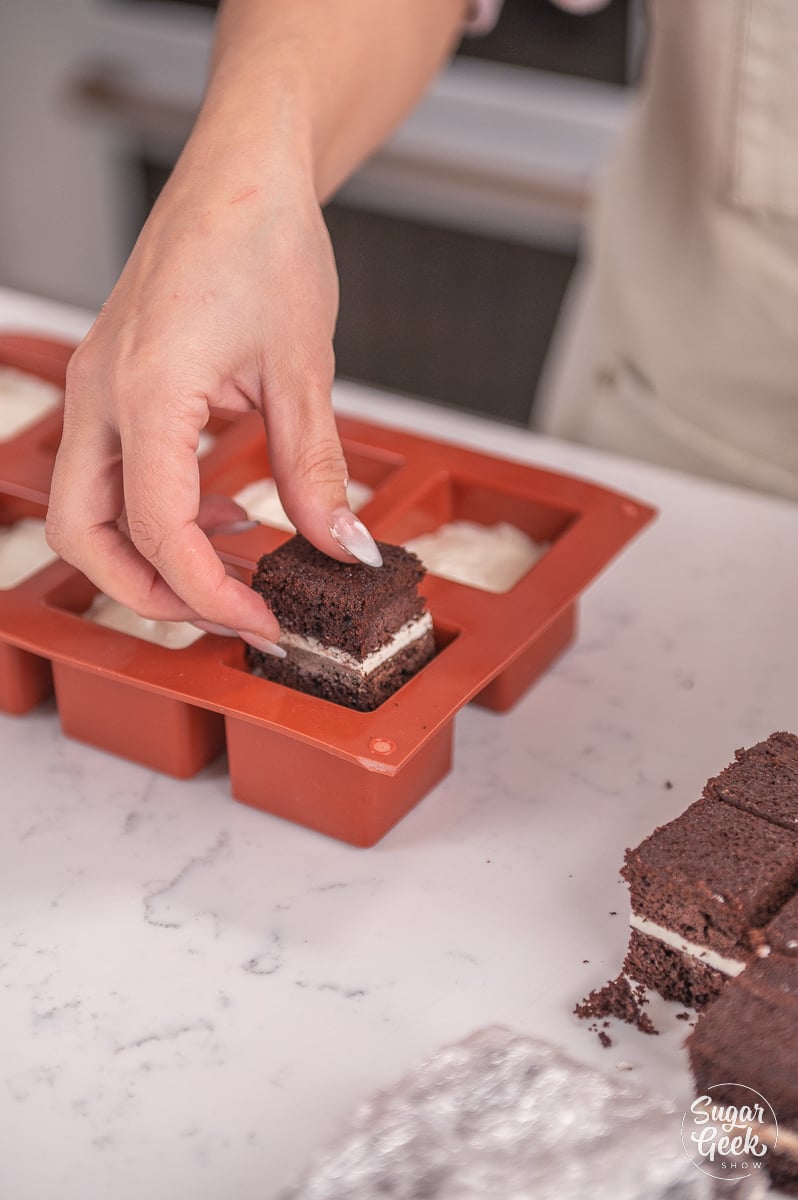
- Pipe soft buttercream into the corners of the square mold to avoid pockets of air trapped in the corners. I gave my mold a little tap to be sure. Then, continue to pipe around the inside of the square mold, leaving the center hollow to place the cake.
- Then, once your molds are coated with buttercream and your cake cubes are fully chilled, carefully place a cube into the center of the mold and press down until the bottom is flush. Repeat with the remaining cubes.
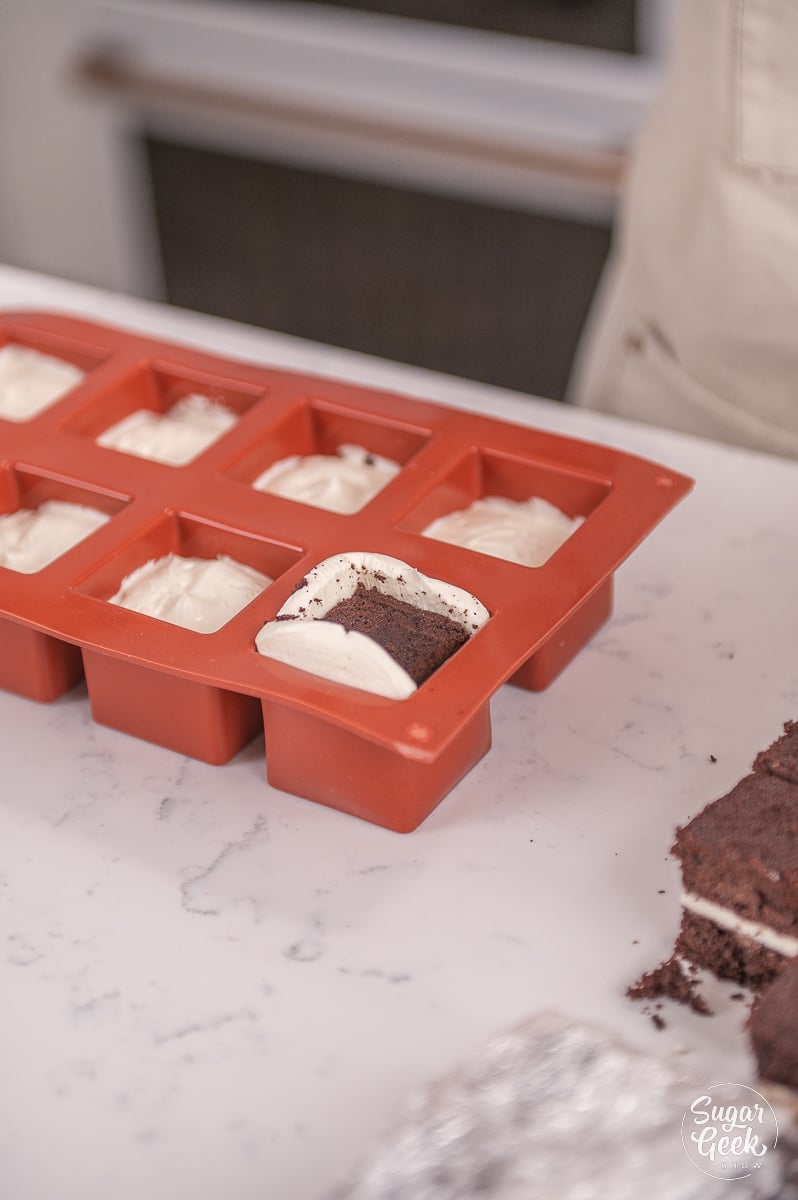
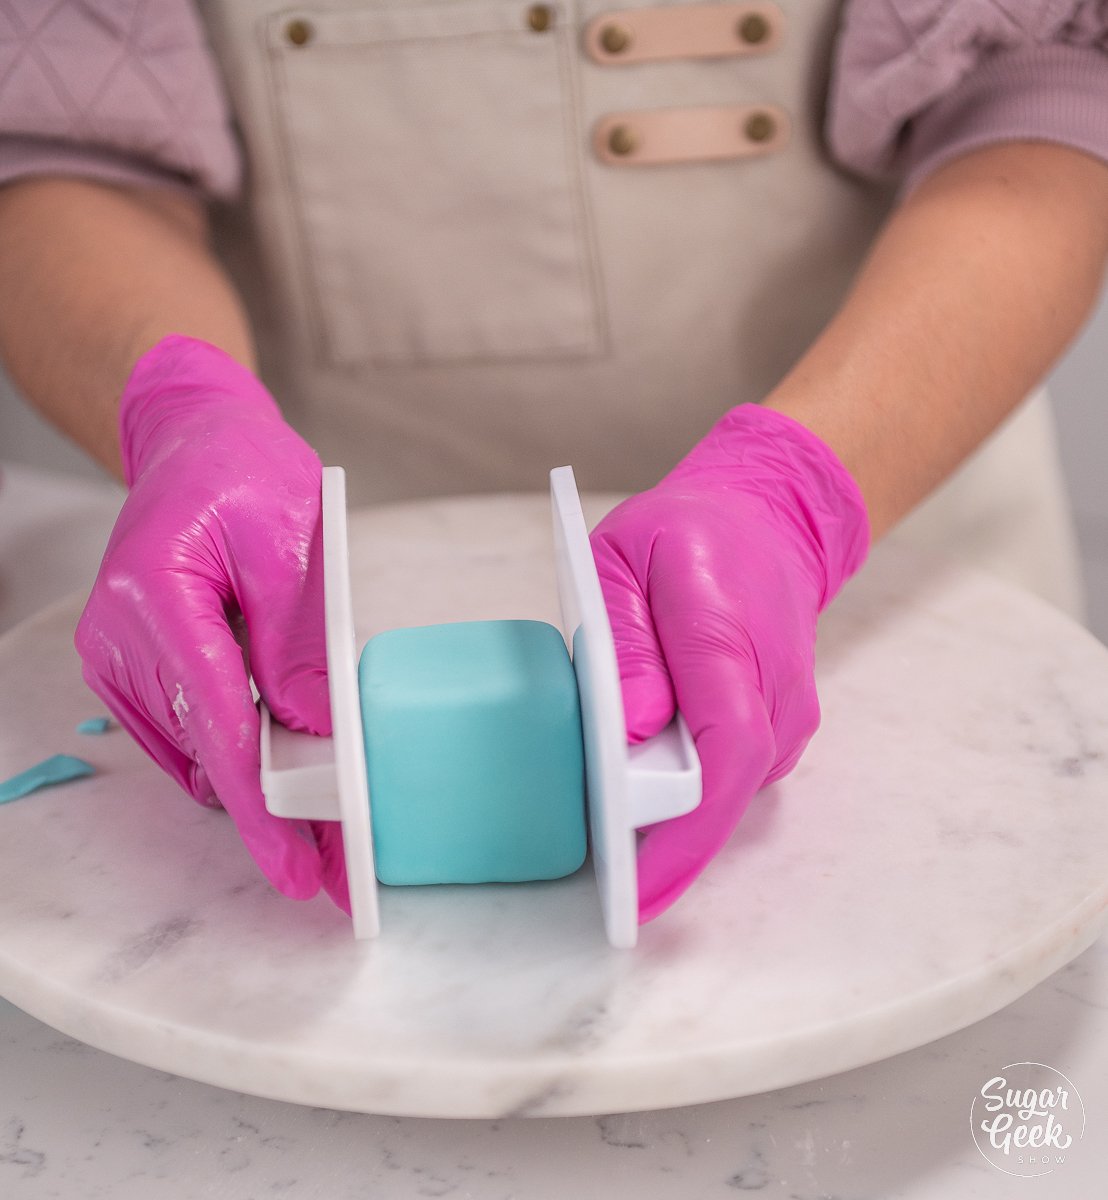
- Next, use a spatula to clean off the excess buttercream that may have pushed out. The silicone mold is soft and can bulge out as you push the cake down. Gently reshape the exterior of the cubes so the sides are straight.
- Place the mold in the freezer for approximately 30 minutes (or overnight is okay, too).
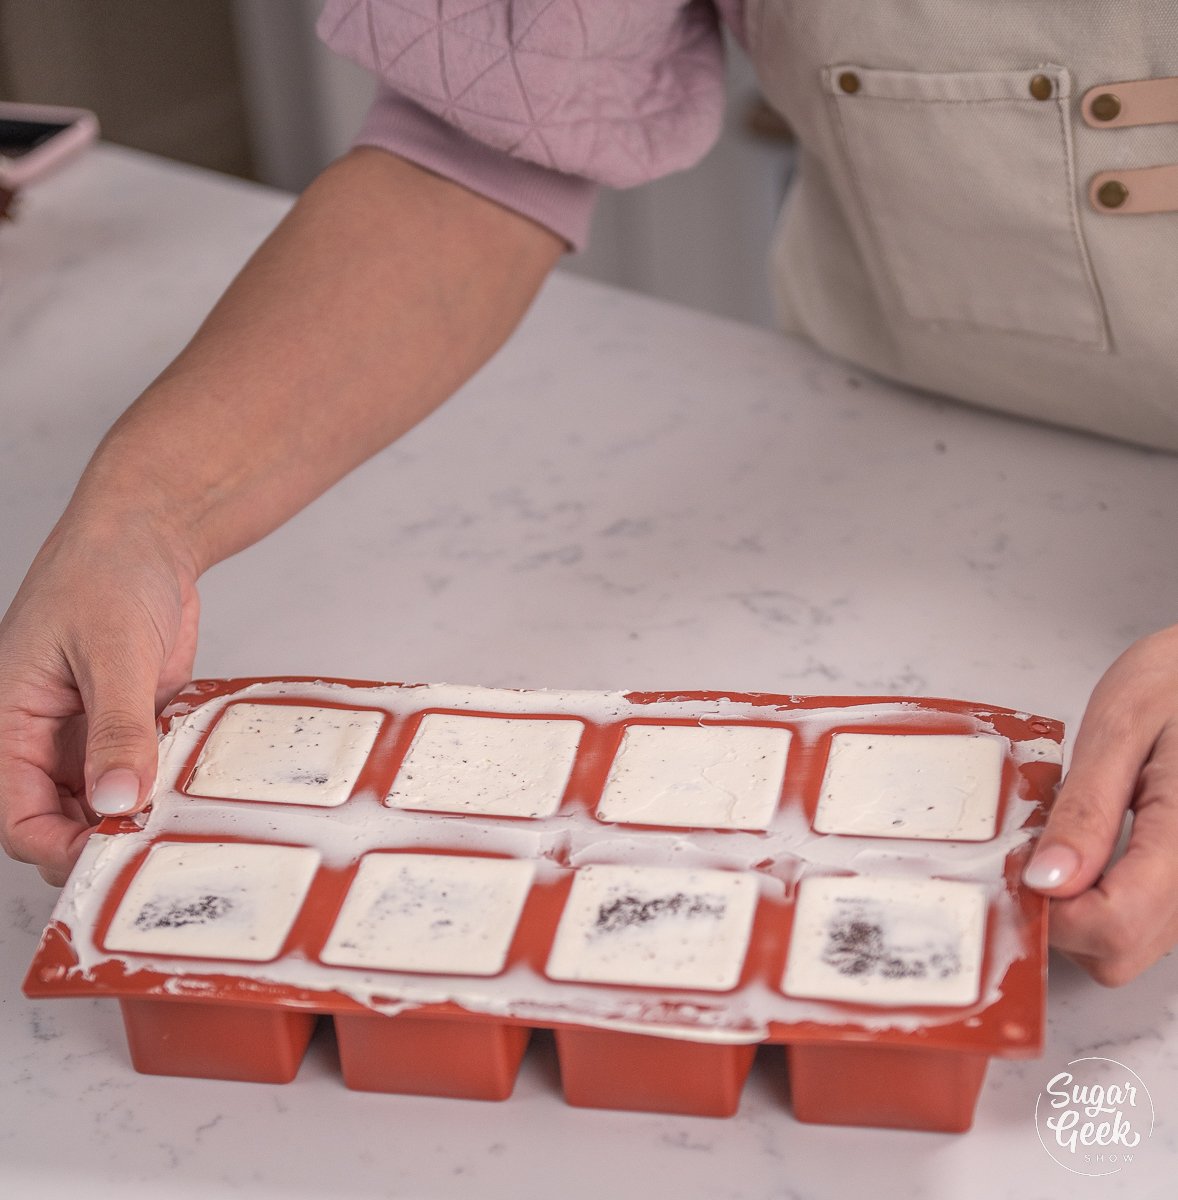
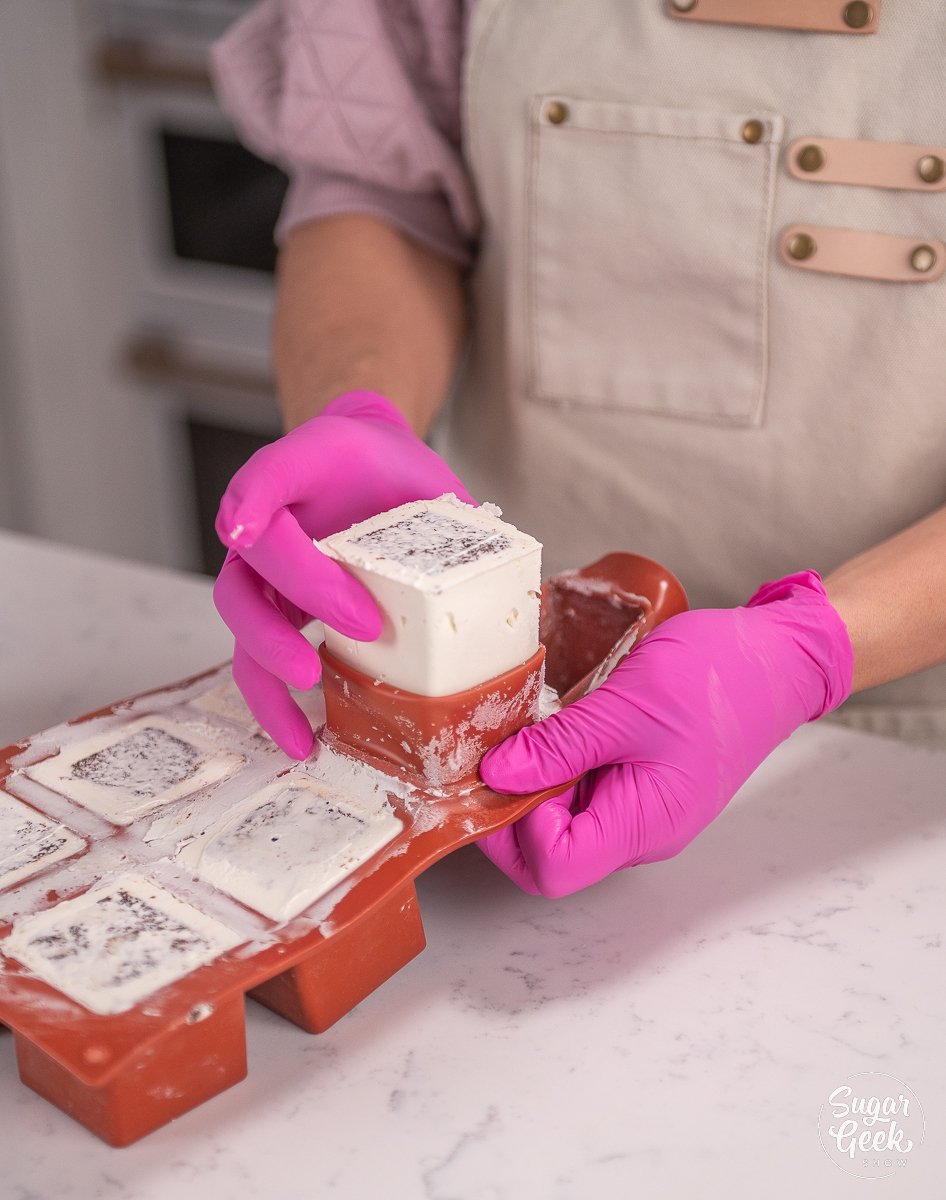
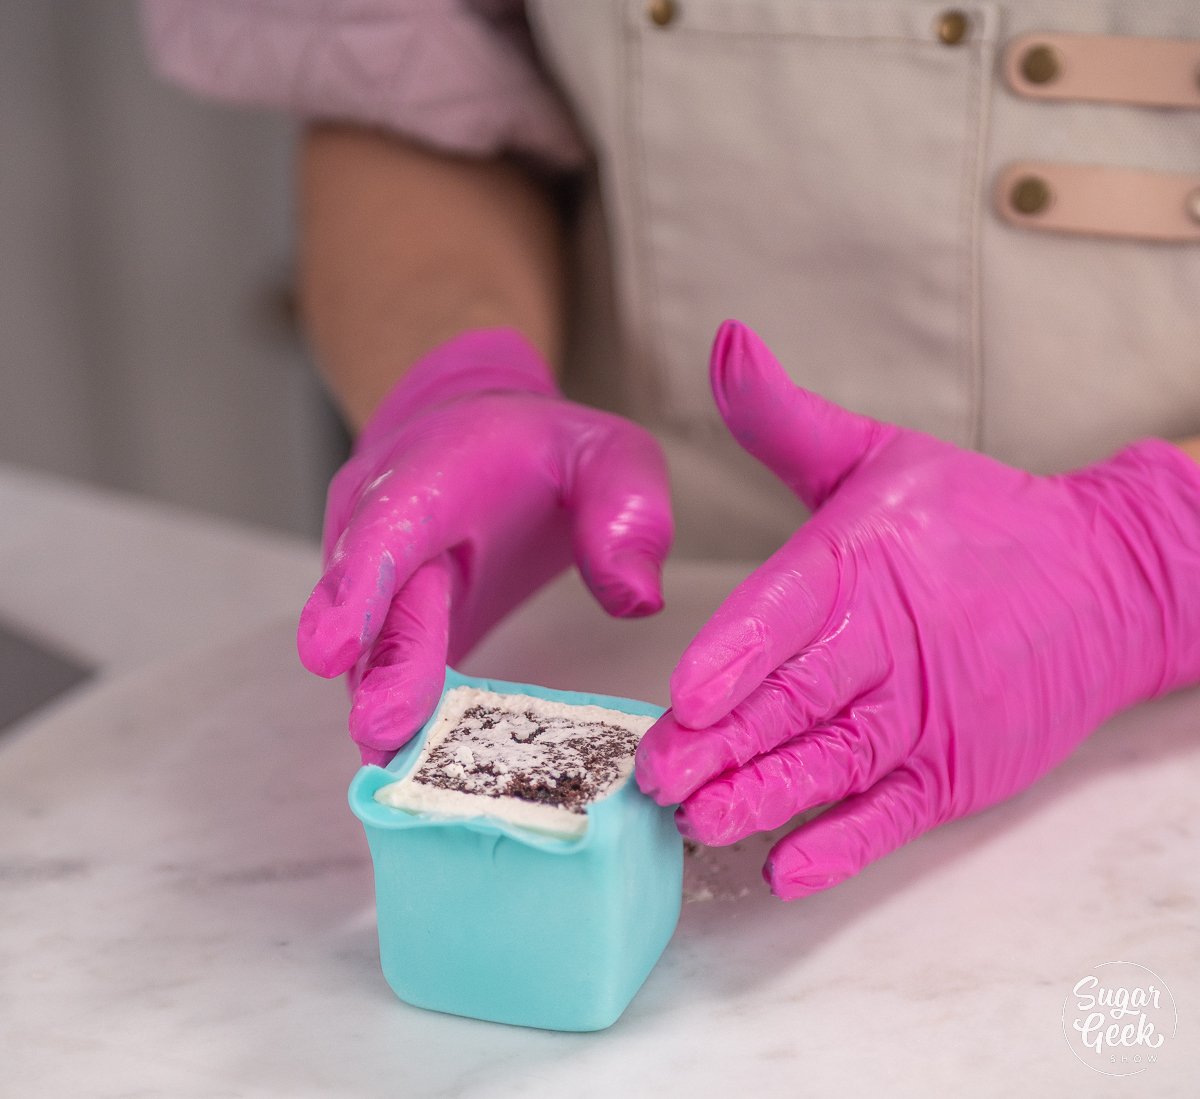
- Gently peel the cake out of the mold. You will want to work quickly so that the buttercream doesn’t have a chance to soften.
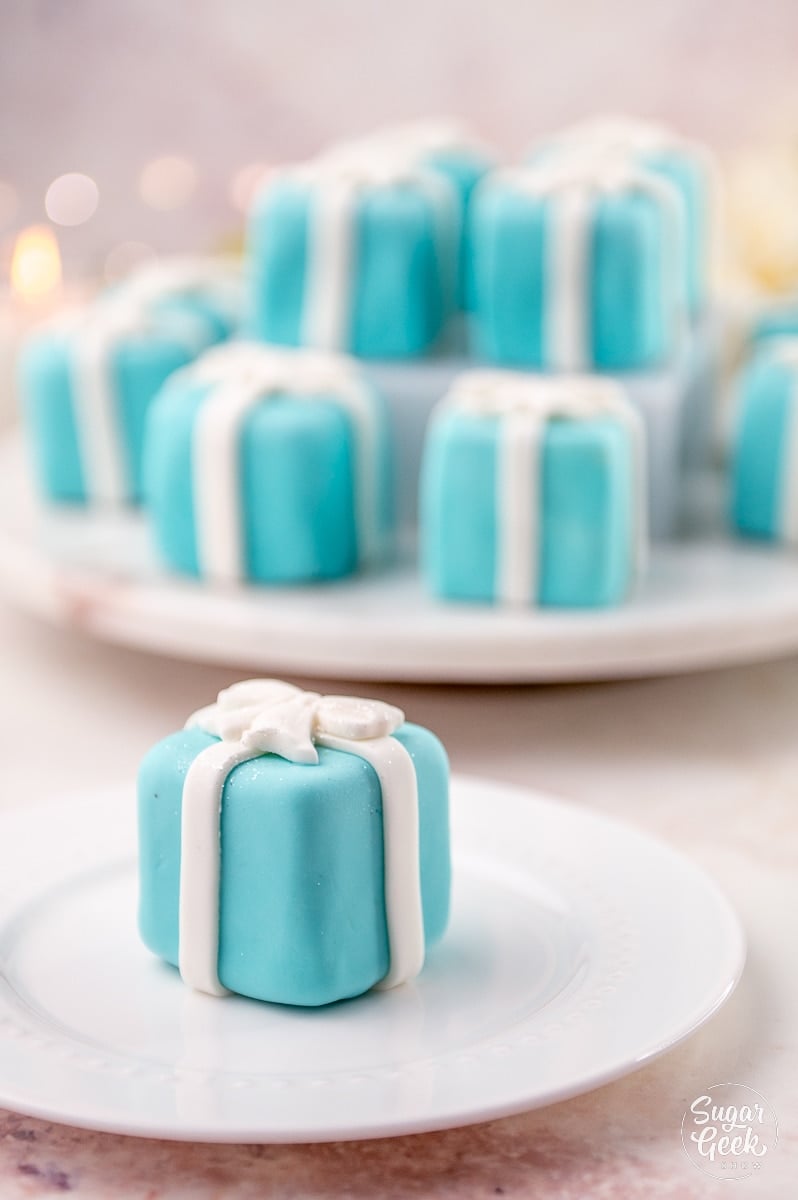
- Place the mini cakes on a single serving board or a platter and finish decorating them with fondant. See my video for the full tutorial. Store them in the refrigerator to keep them cool while you work with your fondant.
Covering the Mini Cakes with Fondant
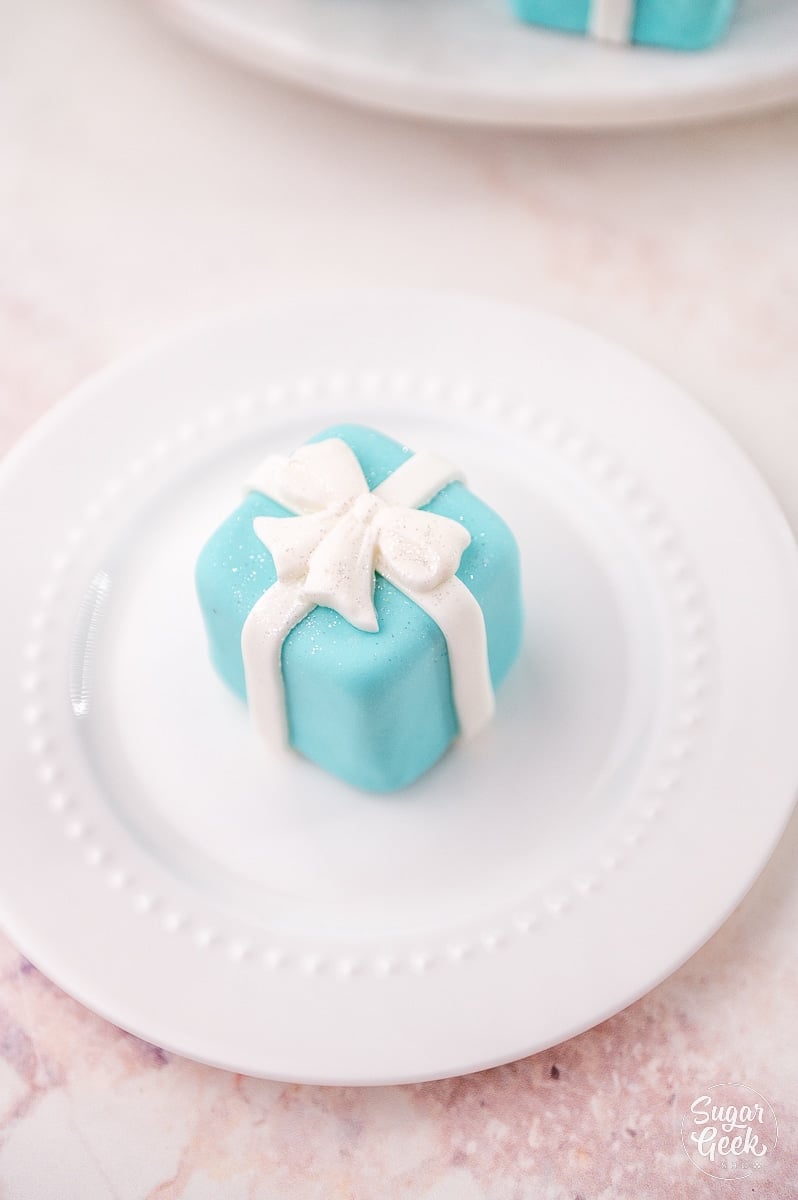
- First, add 1 drop of neon bright blue food coloring to your white fondant and 1 drop of teal. This is the food coloring combination I’ve found that is closest to the iconic Tiffany Blue®. You can use any food coloring you have, but if you would like to know what I used for these mini cakes I used Chef Master gel food coloring. Use code “SUGARGEEKTEN” to get 10% off your order!
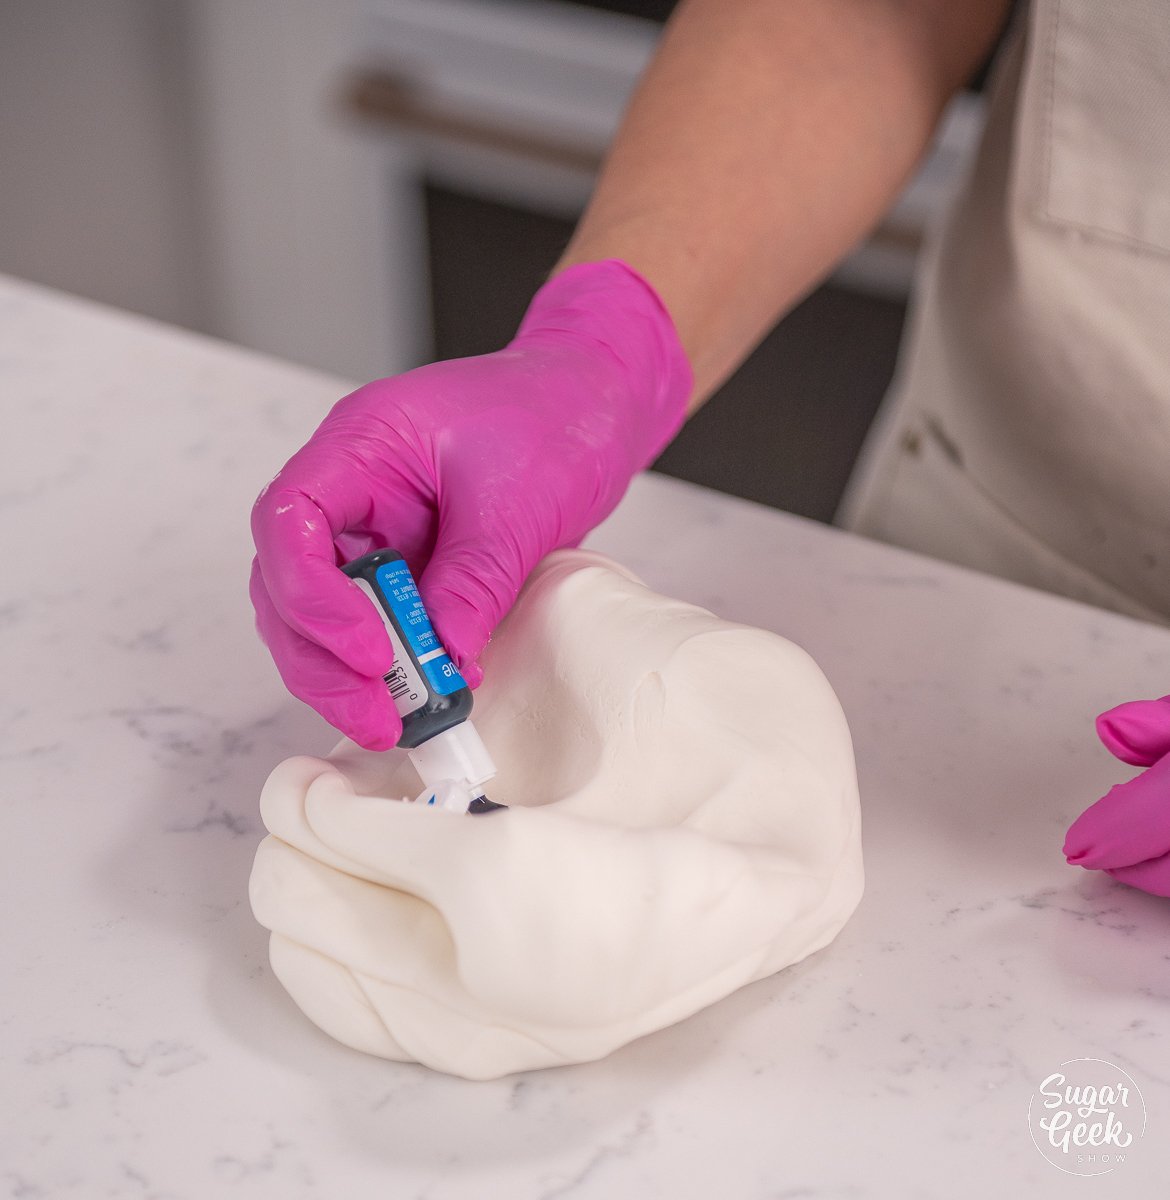
- Then, put on a pair of gloves and apply some shortening to your hands.
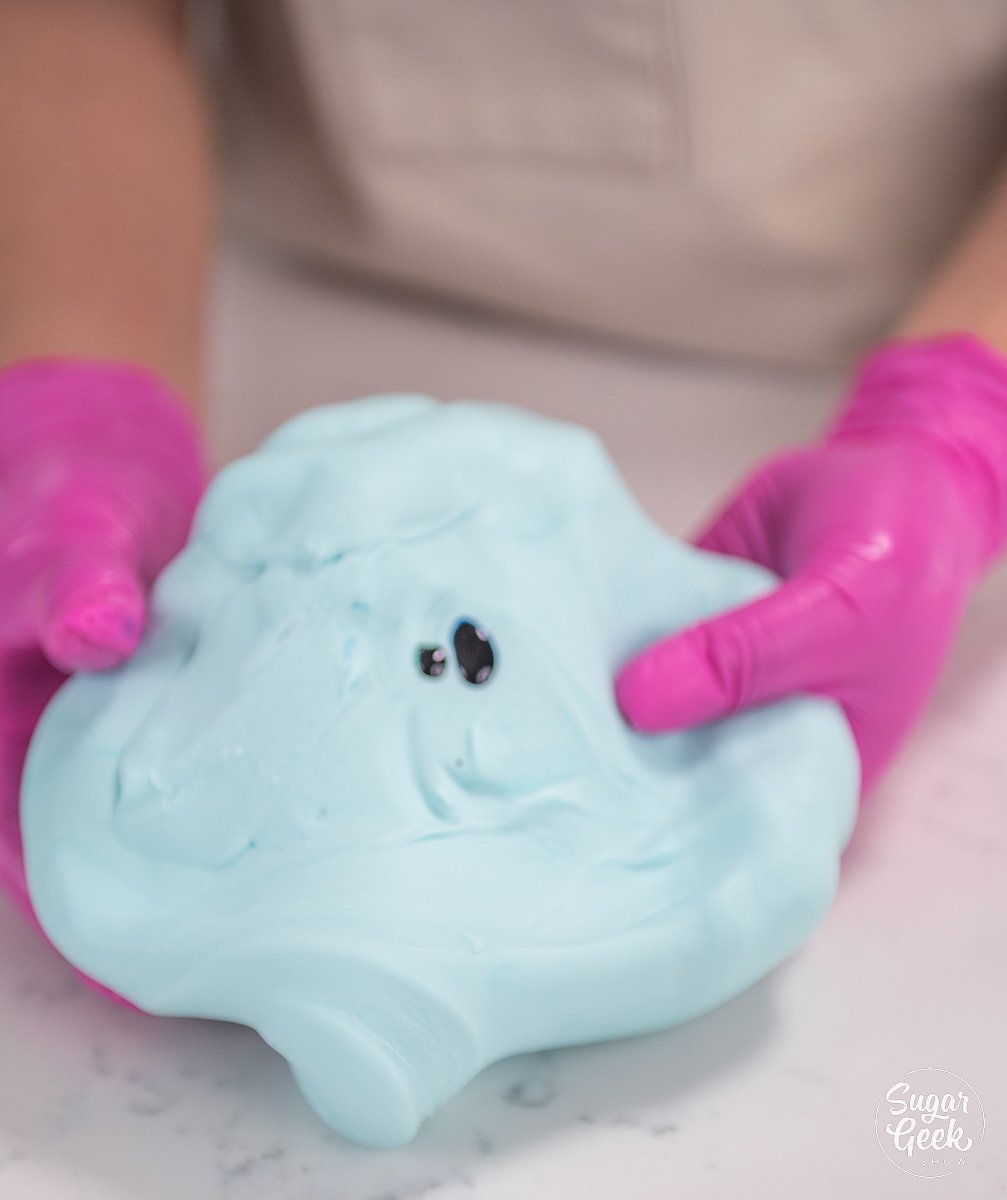
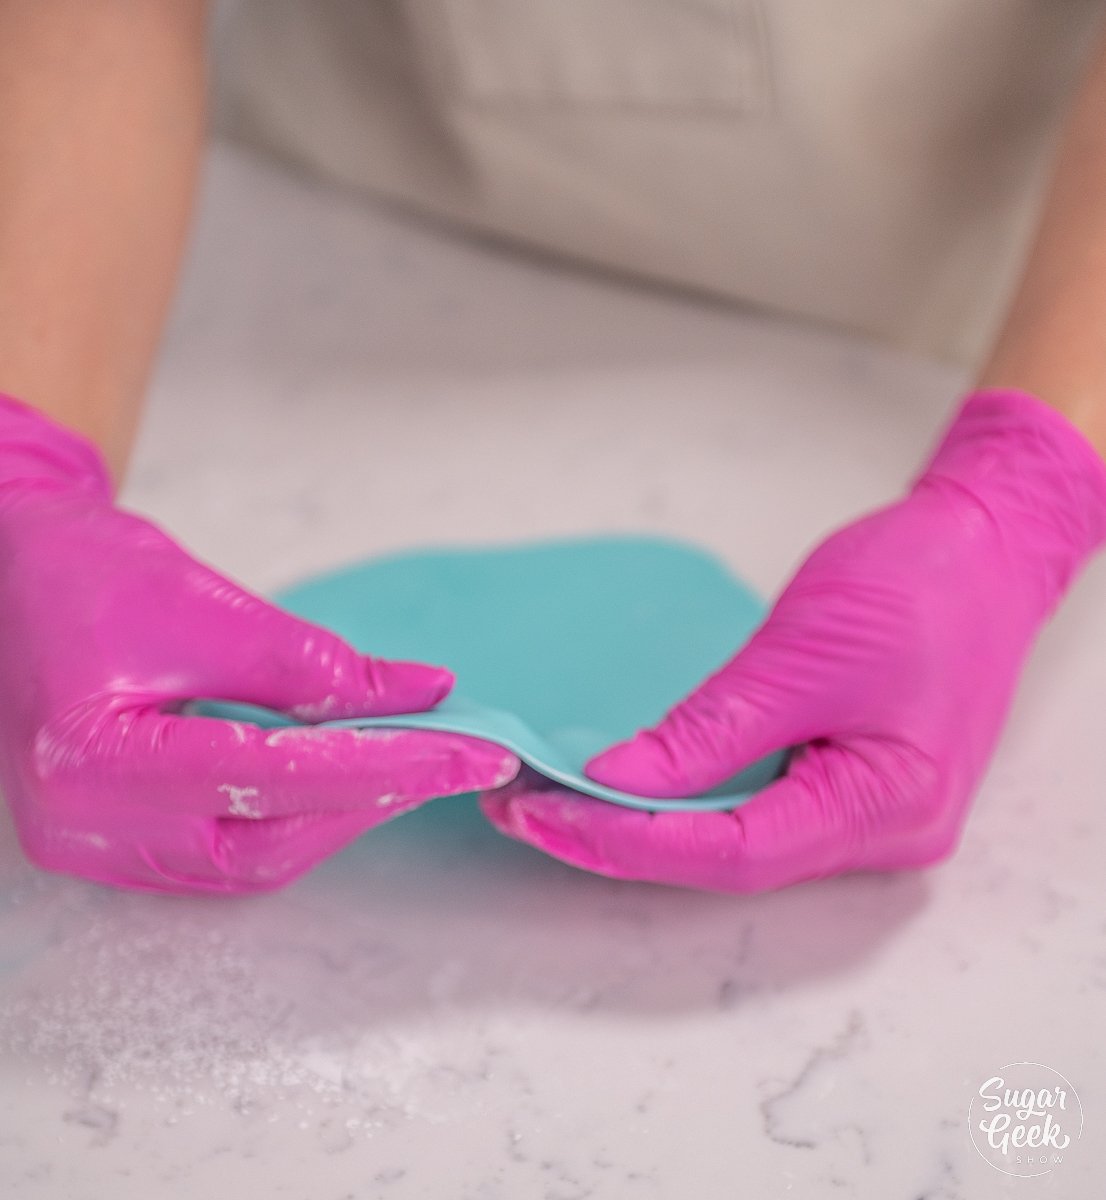
- Using your hands, work the food coloring into the fondant. Knead the fondant and pull it like taffy until it is smooth and the color is evenly distributed. If there are still rough spots or the fondant is tearing, you can warm it up in the microwave for 30-40 seconds to make it hot and pull like taffy. Then, with shortening on your hands, you can continue to knead and pull it without it breaking.
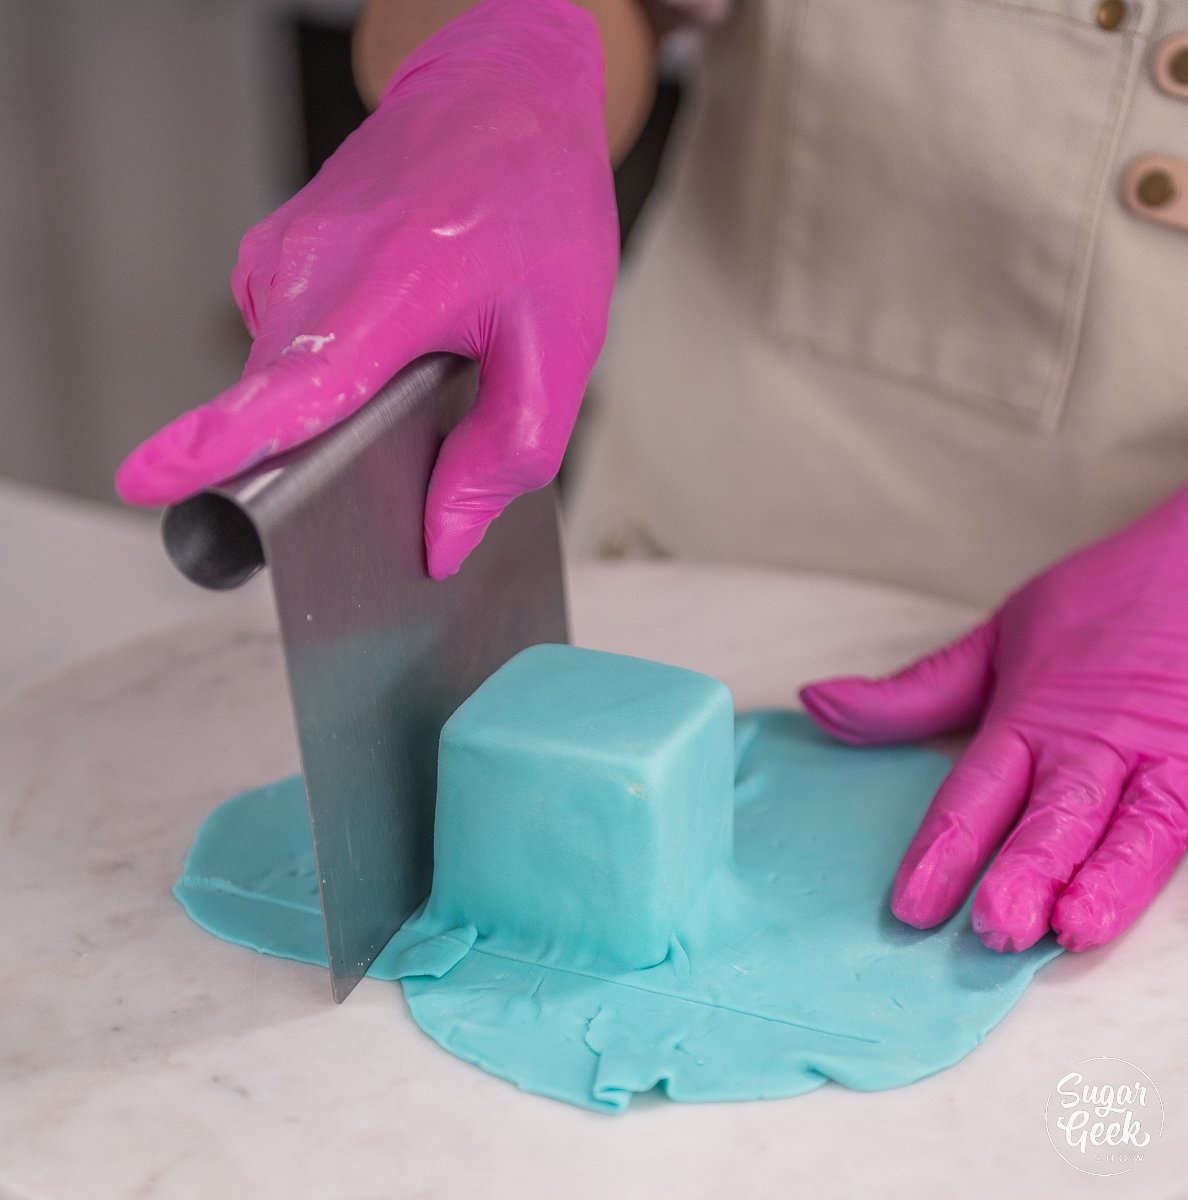
- Sprinkle a little bit of powdered sugar onto your fondant, and then roll your fondant out so that it’s thin (about 1/16th of an inch). The thinner your fondant, the sharper your corners will be!
- Next, place the fondant over your cake cube. Smooth out the top, and then work your way down by pressing the fondant up against the cake.

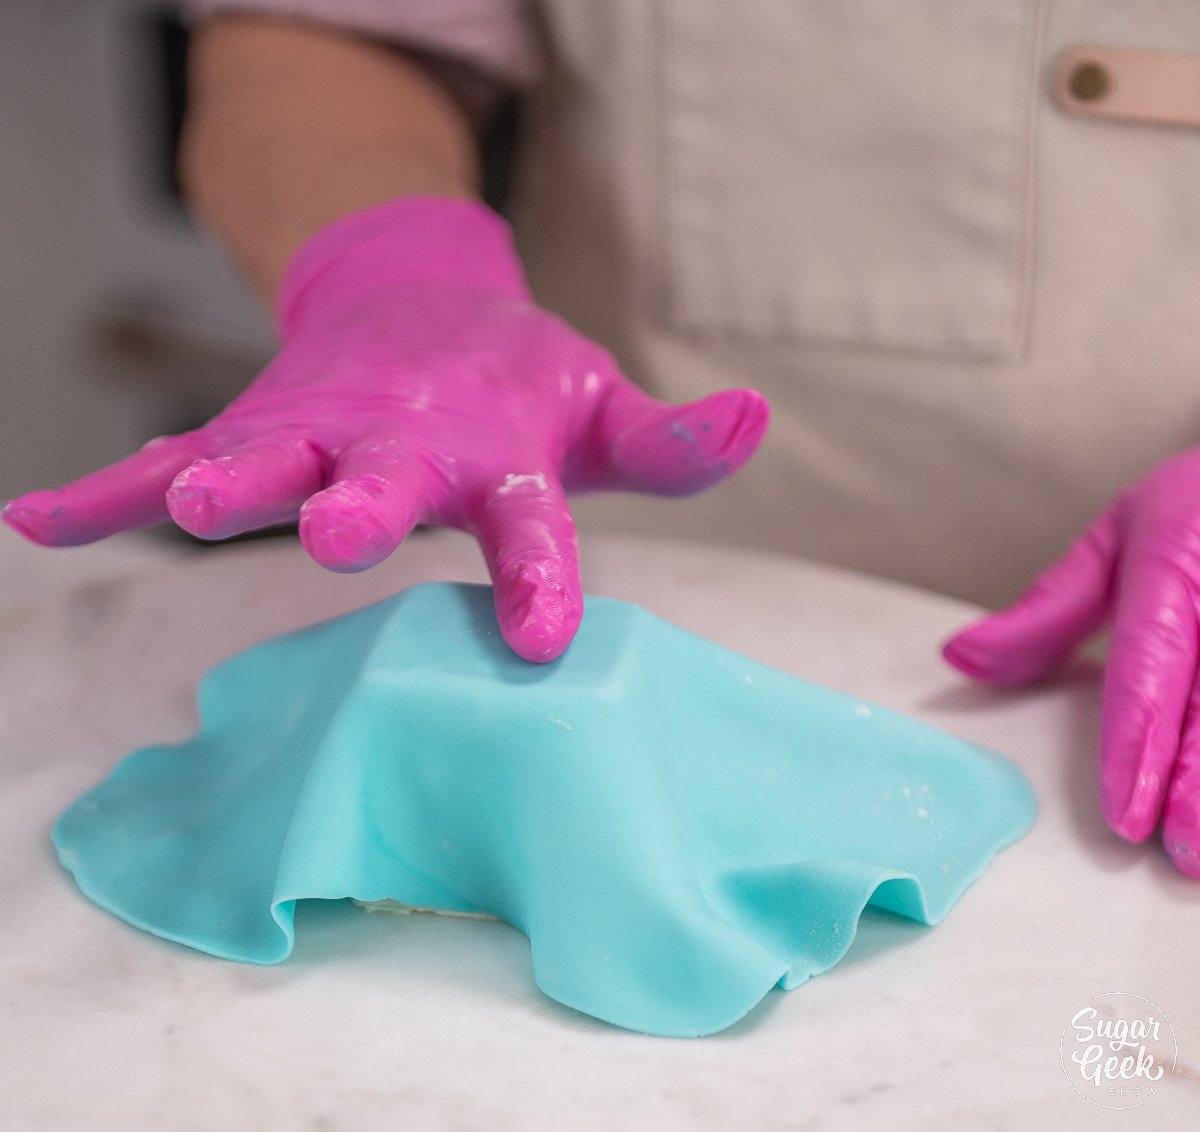
- Once you’re happy with how your fondant looks, trim the excess fondant while leaving about ¼ inch of fondant around the base of the cake.
- Then, flip the fondant-covered cake upside down.
- Fold the excess fondant over the bottom.
- Repeat this process as needed until all of your cake cubes are covered with fondant.
Wayfair Helps Consumers ‘Shop Sustainably’
At a time when retailers and their suppliers are moving to address the environmental concerns more consumers are expressing, Wayfair is helping its shoppers more easily connect with eco-friendly products through the refinement of its Shop Sustainably initiative.

Decorating the Mini Cakes
- Start by making the fondant bows. Add a little bit of vegetable shortening to your white fondant. Then, sprinkle your bow mold with some powdered sugar.
- Press the fondant into the mold so that it’s flush to the surface.
 100vw, 1200px” data-lazy-src=”https://sugargeekshow.com/wp-content/uploads/2022/03/mini-cakes-blog-030.jpg” /></li>
<li>Next, flip the mold over and then peel off the mold to reveal the bow-shaped fondant.<img loading=)
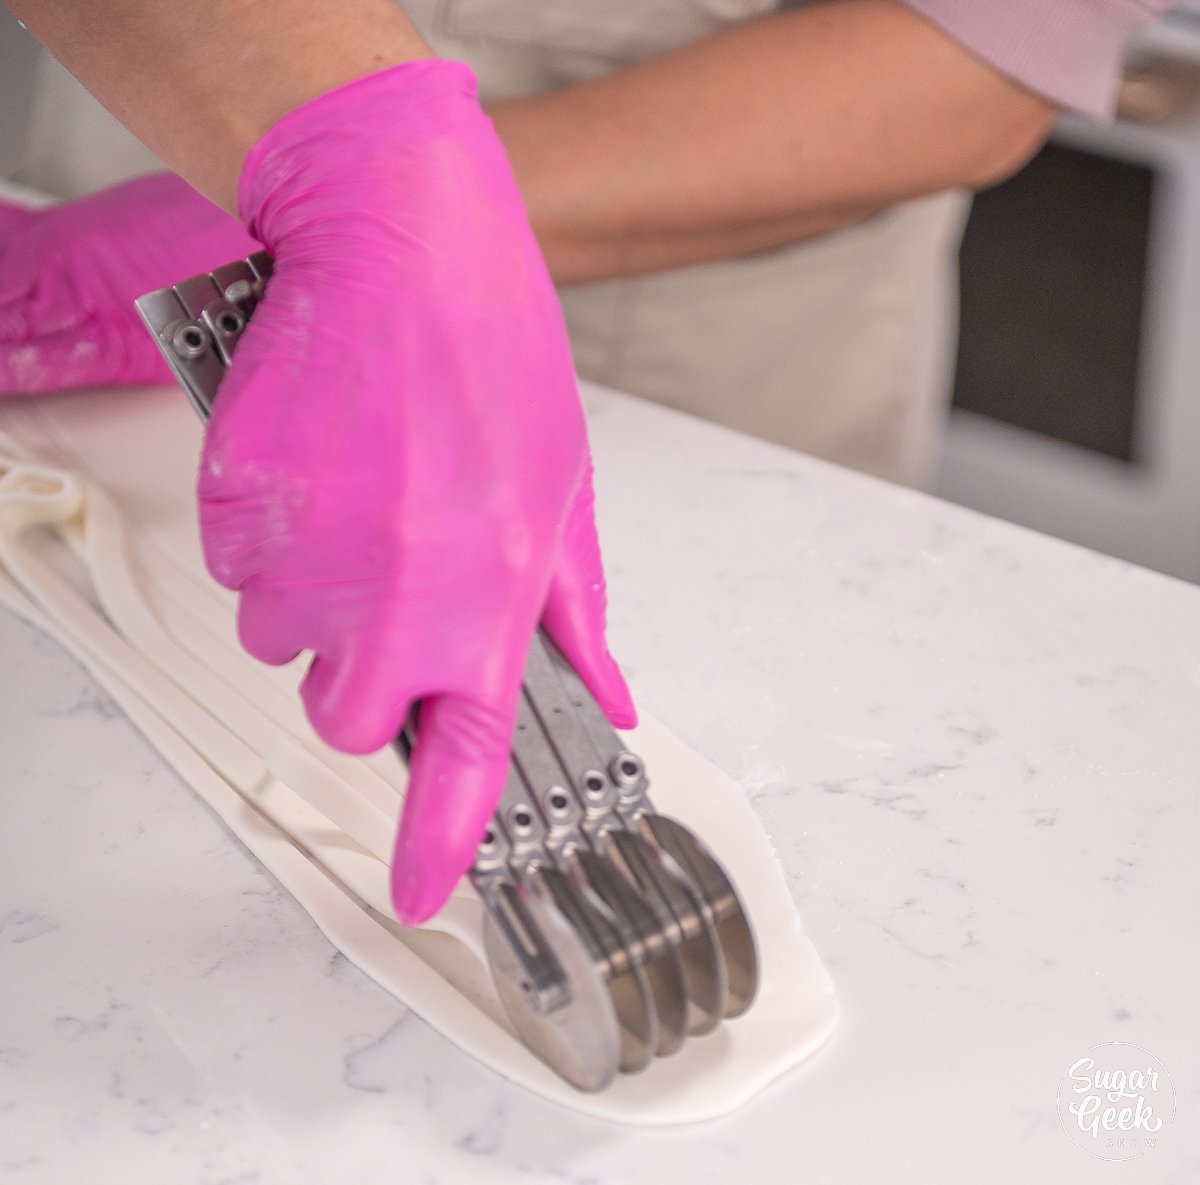
- Now you will roll out more white fondant to create your ribbons. Roll out the fondant so that it’s thin and about 1/16th of an inch. Then, cut out long pieces of fondant that are about ¼ inch wide. I like to use this tool to quickly cut strips of fondant. Fun fact: this tool is also used to make croissants! Or, if you don’t have it, you could use a ruler and an x-acto knife to cut out ribbon fondant.

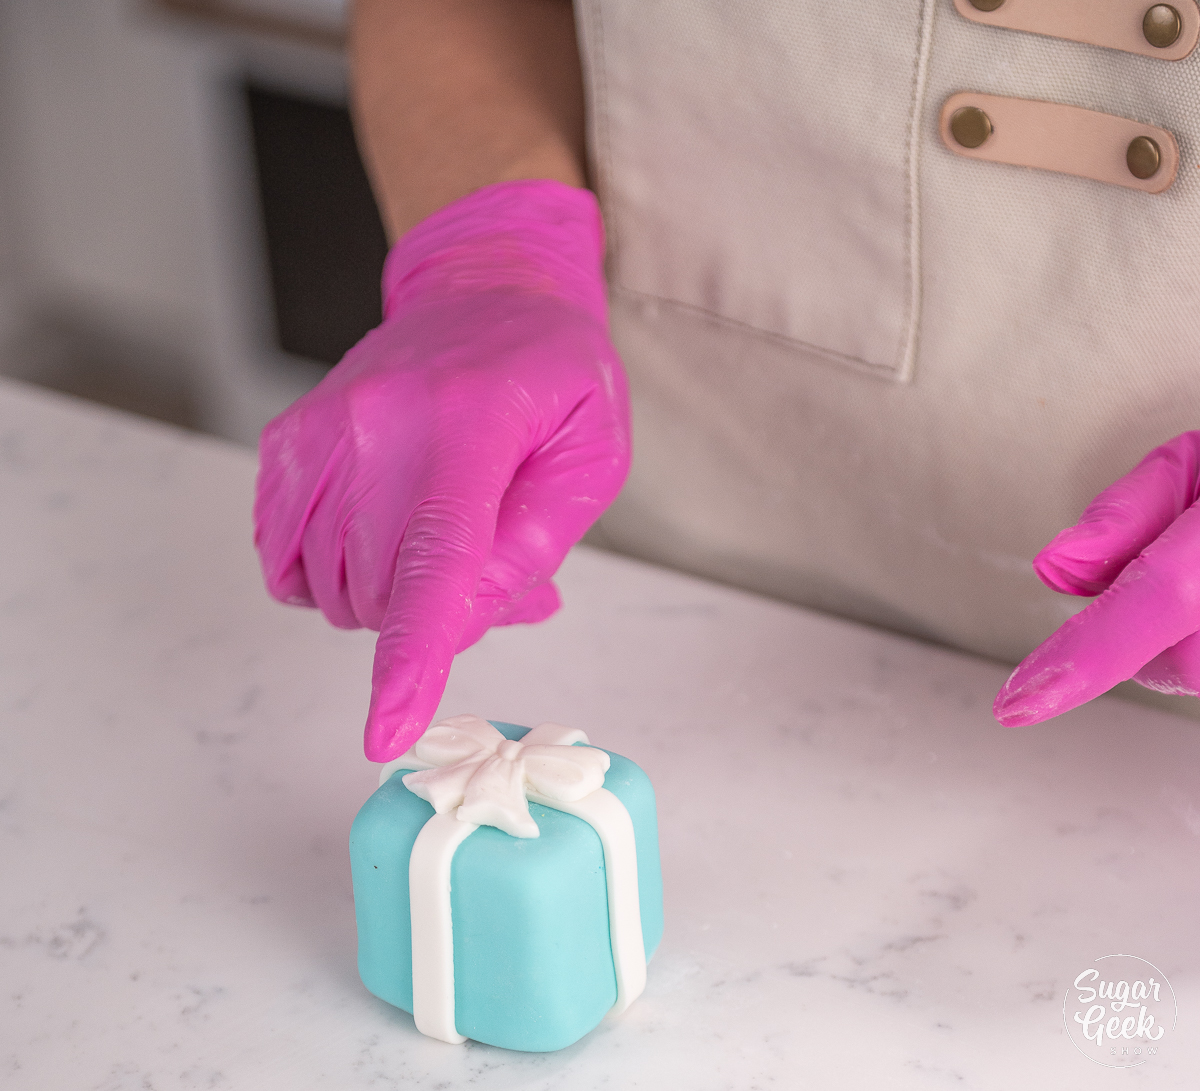
- Now we are going to wrap our cake cubes to make them look like presents! Start by laying a strip of fondant down on the table horizontally. Then, layer another strip of fondant on top going the other way (vertically) so that it resembles a plus sign.
 100vw, 1200px” data-lazy-src=”https://sugargeekshow.com/wp-content/uploads/2022/03/mini-cakes-blog-022.jpg” /></li>
<li>Place the fondant-covered mini cake on top of the fondant ribbons at the center where the ribbons meet with the unfinished bottom facing upwards.<img decoding=)
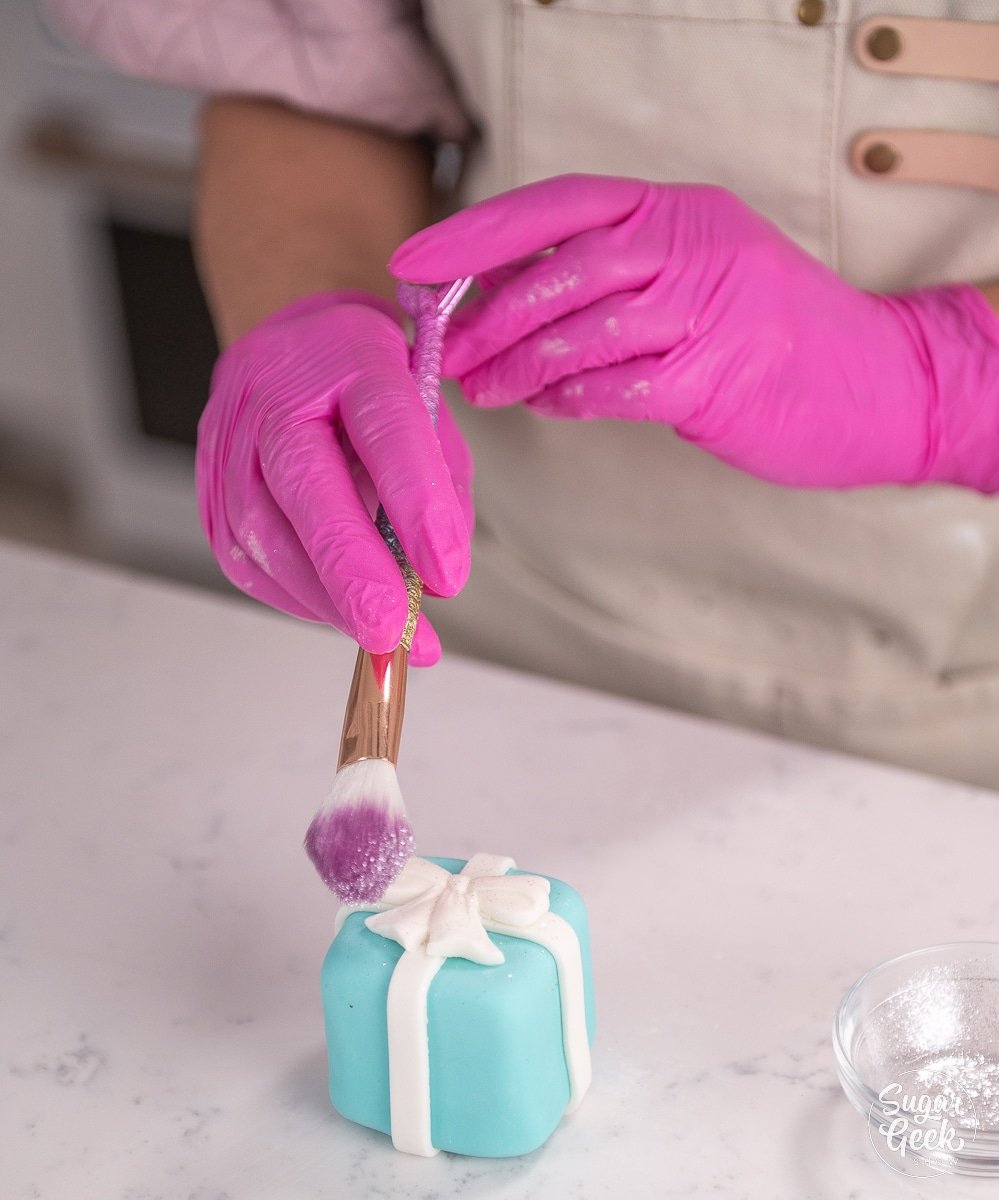
- Optional: Next, as an added decoration, you will add some flash dust or edible glitter to the mini cake using a brush. This is totally optional, but it will give your decorated cakes a radiant sparkle detail!
FAQ
I used a 2” square mold to create these mini cakes.
Petit fours are usually bite-sized, and mini cakes are one cake serving. Another difference between petit fours and mini cakes is that petit four is a broader concept than just cake, so petit four could be sweet or savory french appetizers.
Lunchbox cakes are smaller versions of regular cakes, and are often decorated with royal icing and served in bento-sized boxes. Unlike lunchbox cakes, mini cakes are one serving size of cake and are often decorated with fondant.
If you want more frosting ideas for this chocolate cake besides my easy buttercream frosting, you could opt for a frosting that is less sweet like my Ermine frosting recipe. Big fan of chocolate? You could also double up on the chocolate flavor and prepare your mini cakes using my easy chocolate buttercream frosting!
For a brighter, more vibrant flavored frosting, you could also add in raspberry filling or cherry filling to this buttercream recipe.
Or, skip out on buttercream entirely and go for a ganache instead! For this chocolate cake recipe, I would recommend pairing it with either my easy chocolate ganache recipe or my easy white chocolate ganache recipe.
The cake batter will appear shiny and glossy when it is done mixing and there aren’t any ingredients left on the sides of the bowl.
Freezing the cake for about an hour after it’s cooled down will make the cake easier to cut.
If your buttercream tastes like butter you did not whip the frosting long enough. If you’ve added in all of your ingredients, you will need to whip your buttercream on high speed for 8-10 minutes. Once everything is whipped together long enough, your buttercream will appear white and should taste like melted ice cream.
No. If you do use coffee, it will enhance the chocolate flavor. But adding coffee to your cake batter is entirely optional. You could also substitute hot coffee with hot water (or one of my favorite things to substitute hot coffee for chocolate cake is with a heated, dark beer like Guinness).
A mini cake is a square cut of cake that’s about 2 inches big. Typically, mini cakes range from 2 inches to 4 inches in size.
Expert Tips
- Practice Mise en Place (everything in its place). Measure out your ingredients ahead of time and have them ready before you start mixing to reduce the chances of accidentally leaving something out.
- Bring your butter, milk, and eggs to room temperature. Room temperature ingredients will create an emulsion properly but if any of your ingredients are cold then the batter will not mix together properly and you’ll end up with a wet layer at the bottom of the cake.
- Make your own pan release (cake goop!) The best pan release ever!
- Any white fondant will work to decorate these mini cakes, but I highly recommend using my marshmallow fondant recipe.
- You can use whichever food coloring you have, but if you want a recommendation I would suggest the Chef Master gel food coloring. Use code “SUGARGEEKTEN” to get 10% off your order!


